Automate Ubuntu Server Setup with Ansible Playbook

Learn how to automate your Ubuntu 24.04 server setup using Ansible Playbooks. This step-by-step guide explains configuration management concepts, control node setup, SSH hardening, UFW firewall configuration, and idempotent automation for reliable DevOps workflows.
In modern server administration, Cockpit has become one of the most efficient and user-friendly web-based interfaces for managing Linux servers. It simplifies everything from monitoring system performance to configuring storage and managing network services—all from a sleek web console.
In this guide, we’ll walk through the complete installation and configuration of Cockpit on Ubuntu 24.04, secure it using Nginx as a reverse proxy, and add an SSL certificate with Certbot. By the end, we’ll have a fully functional, HTTPS-secured management interface for our Ubuntu server.
Understanding Cockpit on Ubuntu 24.04
Cockpit is a web-based server management tool developed by Red Hat and available across most Linux distributions. It allows us to:
- View real-time CPU, memory, and disk usage.
- Manage users, services, and system updates.
- Configure network interfaces and firewalls.
- Access a built-in web terminal.
- Manage multiple servers from one dashboard.
For Ubuntu 24.04, Cockpit is included in the official repositories, which means installation and maintenance are simple.
Prerequisites
Before we begin, ensure we have the following:
- An Ubuntu 24.04 on dedicated server or KVM VPS.
- Basic Linux Command Line Knowledge.
Automate Ubuntu Server Setup with Ansible Playbook
Step 1: Update and Upgrade the System
Keeping the system updated prevents compatibility issues and ensures the latest security patches are applied.
sudo apt update && sudo apt upgrade -y
Step 2: Install Cockpit
Ubuntu 24.04 includes Cockpit in its default repositories. Installation takes just a few seconds.
sudo apt install cockpit -y
After installation, enable and start the Cockpit service:
sudo systemctl enable --now cockpit
Verify the service status:
systemctl status cockpit
If everything is correct, you’ll see active (running) in green.
Step 3: Configure UFW Firewall
Ubuntu 24.04 typically comes with UFW (Uncomplicated Firewall). Let’s enable it and allow required ports.
Enable UFW (if not already active):
sudo ufw enable
Allow Nginx (for later steps):
sudo ufw allow 80/tcp
sudo ufw allow 443/tcp
Allow SSH (so we don’t lock ourselves out):
sudo ufw allow OpenSSH
Check firewall status:
sudo ufw status verbose
We should now see rules for OpenSSH, 80/tcp, and 443/tcp.
Step 4: Install and Configure Nginx as a Reverse Proxy
To make Cockpit accessible securely via a domain name and port 443 (HTTPS), we’ll use Nginx as a reverse proxy.
Install Nginx:
sudo apt install nginx -y
Create a new Nginx configuration file:
sudo nano /etc/nginx/sites-available/cockpit.conf
Add the following configuration:
Replace example.com with your actual domain.
server {
    listen 80;
    server_name example.com;

    location / {
        proxy_pass https://127.0.0.1:9090/;
        proxy_ssl_verify off;
        proxy_ssl_session_reuse on;
        proxy_http_version 1.1;
        proxy_set_header Upgrade $http_upgrade;
        proxy_set_header Connection "upgrade";
        proxy_set_header Host $host;
        proxy_set_header X-Real-IP $remote_addr;
        proxy_set_header X-Forwarded-For $proxy_add_x_forwarded_for;
        proxy_set_header X-Forwarded-Proto $scheme;
    }
}
Enable the site:
sudo ln -s /etc/nginx/sites-available/cockpit.conf /etc/nginx/sites-enabled/
Test configuration and reload Nginx:
sudo nginx -t
sudo systemctl reload nginx
At this stage, Cockpit should be accessible via:
http://example.com
But since it’s still plain HTTP, we’ll add SSL next.
Step 5: Secure Cockpit with Certbot SSL (Let’s Encrypt)
We’ll now secure our domain using Certbot, which provides free SSL certificates from Let’s Encrypt.
Install Certbot and Nginx plugin:
sudo apt install certbot python3-certbot-nginx -y
Obtain and install the certificate:
sudo certbot --nginx -d example.com
Certbot automatically edits the Nginx configuration to redirect HTTP to HTTPS and sets up the SSL certificate.
Verify automatic renewal:
sudo systemctl status certbot.timer
Certificates renew automatically every 90 days, but we can test manually with:
sudo certbot renew --dry-run
You’ll have a fully secure, HTTPS-enabled Cockpit interface.
Step 6: Access the Cockpit Web Interface
Visit the URL:
https://example.com
Login using your system username and password—the same one you use for SSH access.
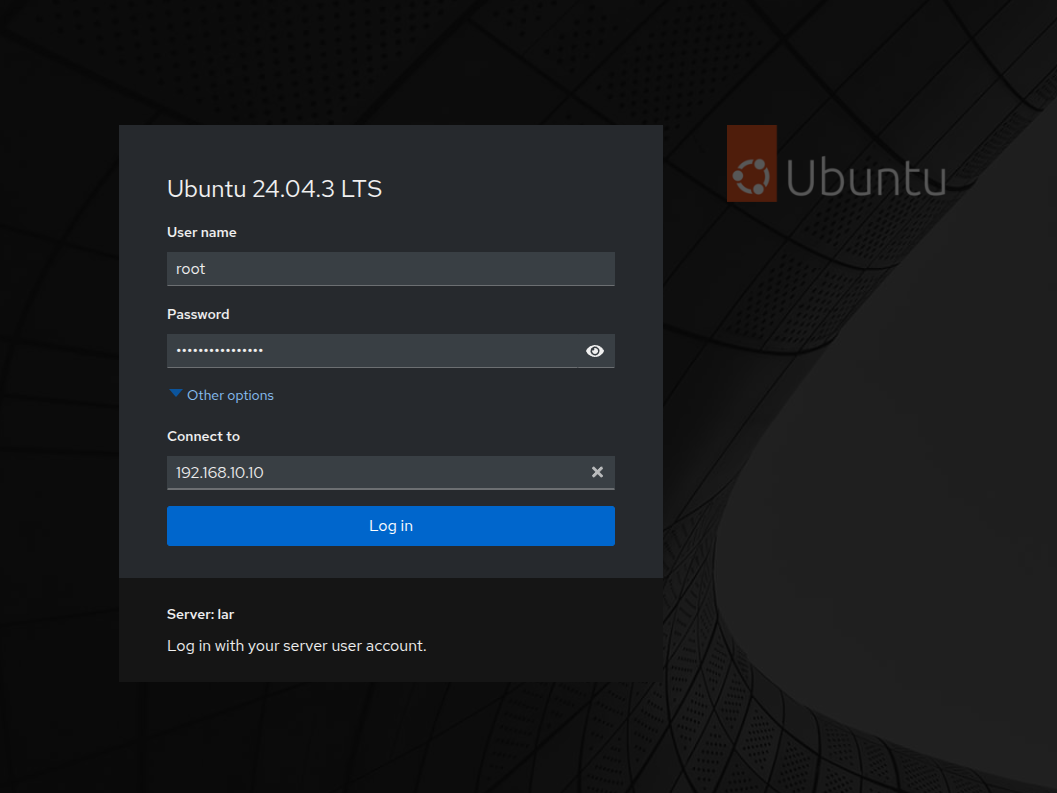
Once logged in, you’ll be greeted by Cockpit’s clean, intuitive dashboard showing system metrics, resource graphs, and quick access panels.
Step 7: Key Usage Areas of Cockpit
Let’s explore some of Cockpit’s most powerful modules:
System Overview
Shows real-time CPU, memory, disk, and network usage. We can restart, shut down, or even reboot the system directly from here.
Logs
Provides system logs with filters for critical, warning, or informational messages.
Storage
View, mount, and format disks. Cockpit even supports managing LVM volumes and RAID configurations visually.
Networking
Configure interfaces, assign static IPs, or set up bonding and VLANs.
Services
Enable, disable, or restart systemd services without touching the command line.
Terminal
A built-in web-based terminal for advanced operations—useful when SSH isn’t available.
Software Updates
Easily apply updates with a single click. Cockpit also supports automatic updates for unattended systems.
Accounts
Add or remove system users, manage groups, and set password policies.
Step 8: Optional – Manage Multiple Servers
Cockpit allows us to manage multiple servers from one interface.
To add more systems:
- Go to the “Dashboard” tab in Cockpit.
- Click “+ Add Server”.
- Enter the IP address and credentials of another Cockpit-enabled server.
This creates a unified dashboard to manage all servers centrally.
Troubleshooting Tips
If Cockpit fails to load:
- Check service status: sudo systemctl status cockpit
- Ensure Nginx proxy is forwarding traffic: sudo tail -f /var/log/nginx/error.log
- Verify firewall rules: sudo ufw status
- Restart both services: sudo systemctl restart cockpit nginx
Conclusion
We’ve successfully set up Cockpit on Ubuntu 24.04 with Nginx and SSL via Certbot, transforming a plain server into a secure, web-based management platform. With Cockpit, we can handle updates, networking, services, users, and performance monitoring—without ever leaving the browser.
For administrators managing multiple Linux servers, Cockpit offers the perfect blend of visibility, control, and simplicity. It’s a powerful way to bring modern server management to the web, securely and efficiently.
