Getting Started with cPanel Hosting

This tutorials is about getting started with cPanel hosting.
cPanel is a popular web hosting control panel that allows you to manage your website's backend with ease. As a cPanel web hosting provider, we offer reliable and user-friendly hosting solutions that empower you to manage your website with ease.
Our hosting services come with cPanel, the industry-leading control panel that simplifies tasks like setting up domains, creating email accounts, managing files, and optimizing databases—all through an intuitive interface. Whether you’re a beginner or an experienced webmaster, our cPanel hosting provides the tools and support you need to build and grow your online presence effortlessly, backed by robust performance, security, and 24/7 expert support.
Prerequisites
- Access to your cPanel hosting account.
- Domain name registered and pointed to your web hosting server (DNS configured)
cPanel Web Hosting Hostperl
Step 1: Logging into cPanel
Open Your Browser: Go to your web hosting provider's cPanel login page. This is usually something like https://yourdomain.com/cpanel or https://yourhost.com:2083.
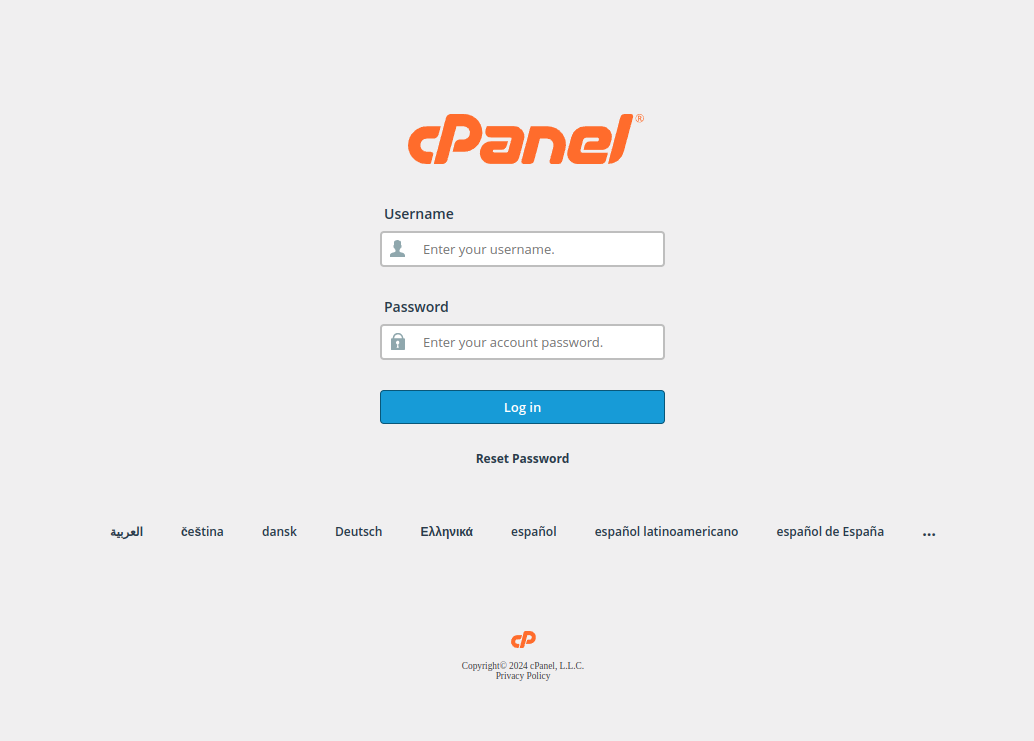
Enter Your Credentials: Use the username and password provided by your web host.
Access the Dashboard: Once logged in, you will be greeted by the cPanel dashboard, which displays various sections like Files, Databases, Domains, Email, and Metrics.
Step 2: Setting Up Domains
Domains are crucial for your website's identity. You can add primary domains, subdomains, or parked domains using cPanel.
Adding a Domain
Navigate to the Domains Section: Scroll down to the “Domains” section on your cPanel dashboard. Here your will get your list of domains including primary domain. You can manage your domains here.
Click on “Domains”: This allows you to add new domains or manage existing ones.
Add a New Domain:
Click Create A New Domain button.
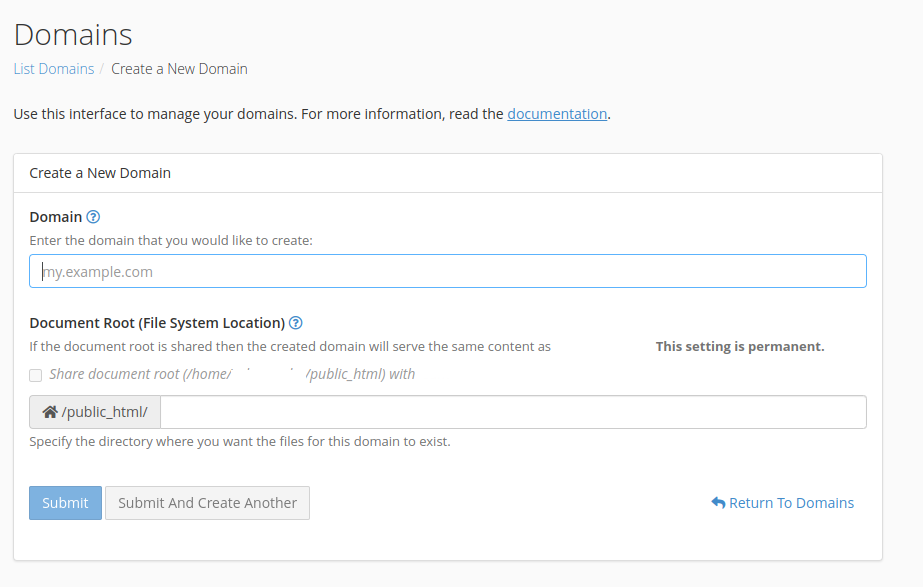
- Enter the Domain Name: Type your domain (e.g., example.com).
- Document Root: This field specifies the root directory for your domain. By default, it’s set as /public_html/yourdomain.
- Share Document Root: Leave this unchecked if this is a new, standalone domain.
Click Submit to add the domain.
Creating a Subdomain
- To create subdomain, the process is same as adding addon domain like shown in previous step.
- Enter the Subdomain Name in Domain field: (e.g., blog.example.com).
- Set the Document Root: Usually, it will be set automatically as /public_html/subdomain.
- Click “Submit”.
Step 3: Creating Email Accounts
cPanel allows you to create custom email addresses for your domain, enhancing your brand's professionalism.
Navigate to the Email Section: Scroll down to the “Email” section on your cPanel dashboard.
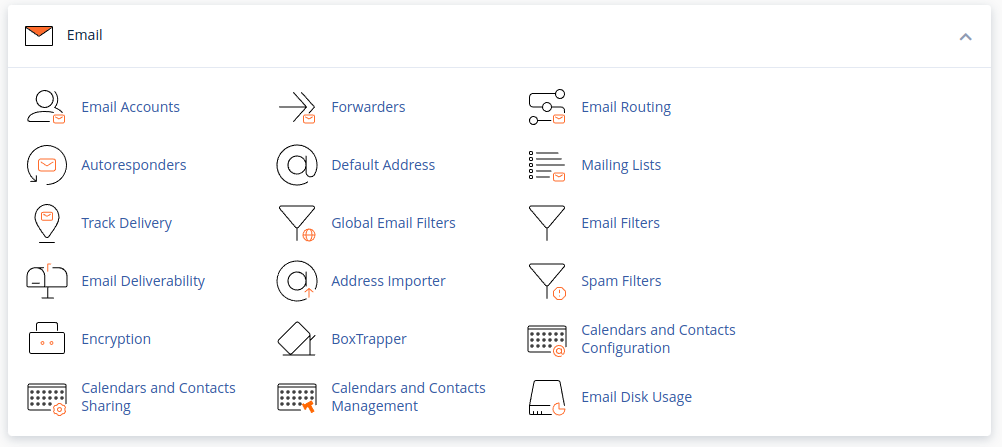
Click on “Email Accounts”.
Create a New Email Account:
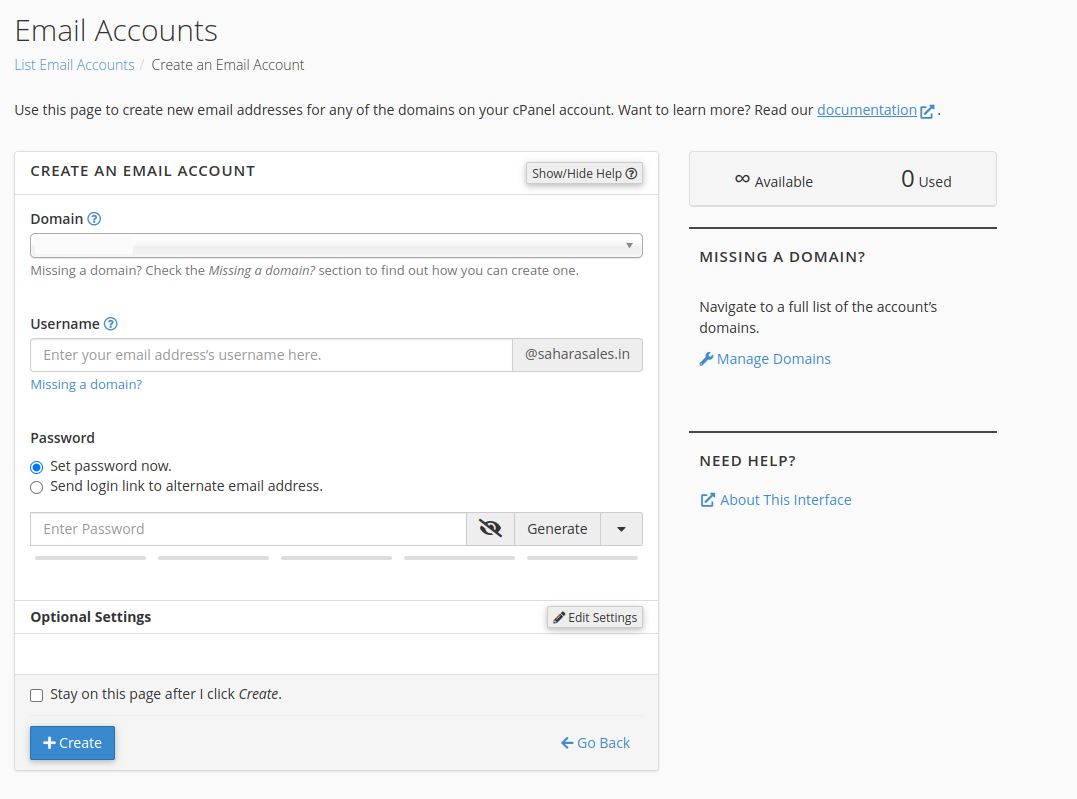
- Domain: Select the domain for which you want to create an email address.
- Username: Type the desired username (e.g., info to create info@example.com).
- Password: Set a strong password or use the password generator.
- Storage Space: Define the mailbox quota or leave it as the default.
- Click Create.
Accessing Webmail
Go to Webmail: You can access Webmail through https://webmail.yourdomain.com/ or directly from cPanel by clicking “Check Email” next to your email account.
Choose a Webmail Client: Options like Roundcube or Horde are available for managing your email.
Step 4: Managing Files with File Manager
The File Manager tool in cPanel allows you to manage your website files directly without needing FTP software.
Navigate to the Files Section: Scroll to the “Files” section on your cPanel dashboard.
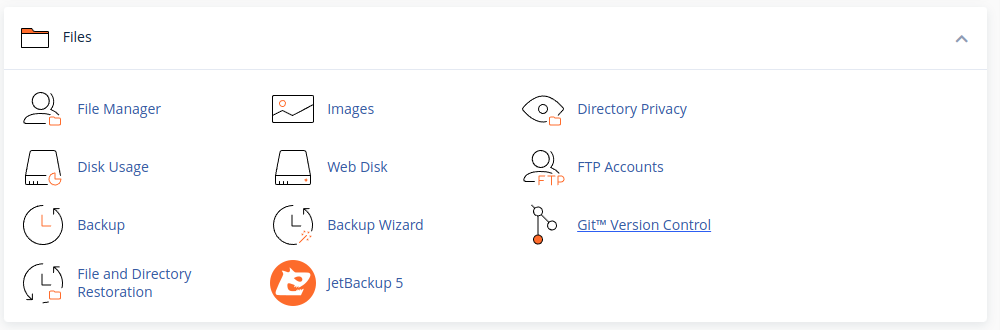
Click on “File Manager”: This will open the File Manager interface.
Navigating Directories:
- Public_HTML: This is the root directory for your website’s files.
- Upload Files: Click the Upload button to upload files from your computer.
- Create Files/Folders: Use the + File or + Folder buttons at the top menu.
- Edit Files: Right-click on any file to edit, rename, or delete.
Step 5: Backup Your Files
Regularly backing up your website is crucial for data safety. Here's how to do a basic backup:
- Go to the “Files” Section.
- Click on “Backup”.
- Download a Full Backup: Choose Full Backup or download individual elements like Home Directory, MySQL databases, etc.
Step 6: Managing Databases
If your website uses a database (e.g., WordPress), you can manage it directly via cPanel.
Navigate to the Databases Section: Look for the “Databases” section in your cPanel dashboard.
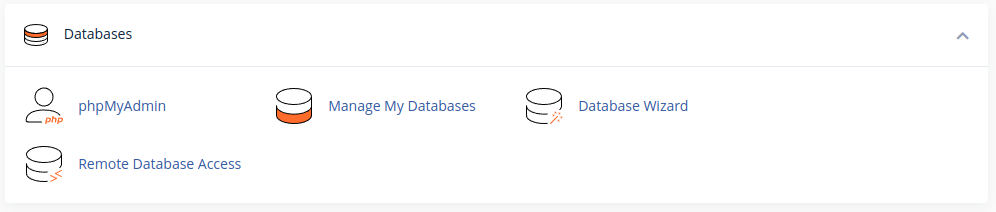
Click on Manage My Databases: Here you can create and manage databases.
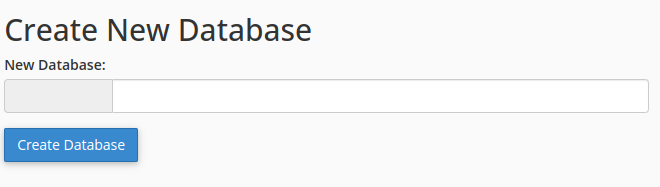
Create a New Database:
- Enter a name for your database.
- Click Create Database.
To create a database user, scroll down in manage database page you will find Add New User section:
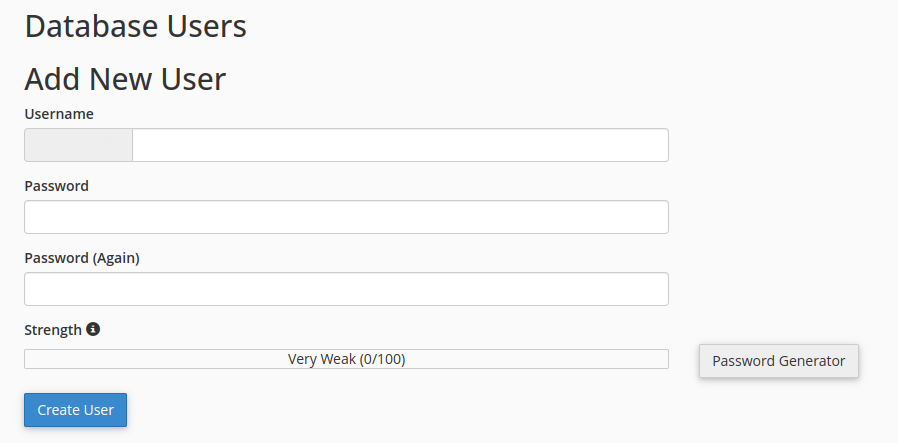
- Enter a username and password.
- Click Create User.
Assign User to Database:
In Add User To Database, select the user and the database and click Add button. It will navigate to Manage User Privileges page.
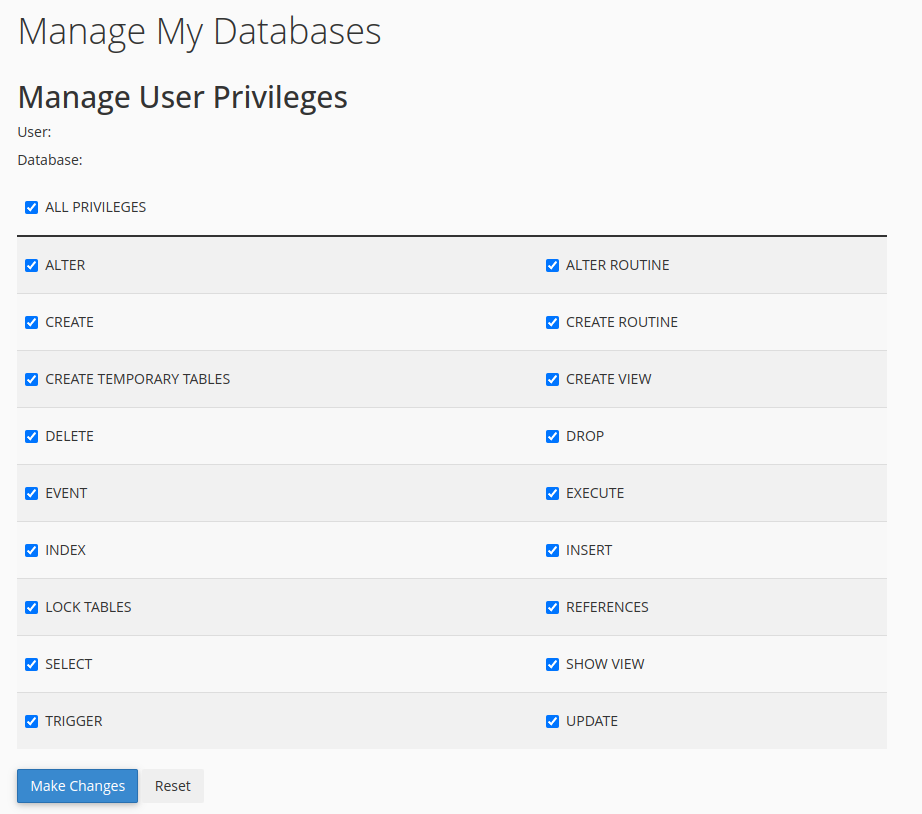
Click on ALL PRIVILEGES and click on Make Changes button.
Step 7: Additional Tips
- Security: Regularly change passwords and keep your software up-to-date.
- Resource Management: Monitor your usage (e.g., bandwidth, disk space) to ensure optimal performance.
- Support: Use the “Help” section in cPanel for guidance or contact your web hosting provider.
Conclusion
cPanel simplifies website management with its intuitive interface and extensive features. By following this guide, you can efficiently set up domains, create email accounts, and manage your website files, laying a solid foundation for your online presence. As you become more familiar with cPanel, you can explore its advanced functionalities to further optimize and secure your web hosting environment.
