How To Install Rocket.Chat on Rocky Linux 10

In this tutorial, we'll learn how to install Rocket.Chat on Rocky Linux 10 server.
Rocket.Chat is a dynamic, open-source team messaging platform designed for modern collaboration. It offers real-time chat, file sharing, and integrated video conferencing, all while giving organizations complete control over their data through self-hosting. Ideal for businesses that prioritize privacy and customization, Rocket.Chat serves as a robust alternative to proprietary messaging apps, empowering teams with secure, scalable communication solutions.
Below is a comprehensive, step-by-step guide that explains every aspect of setting up Rocket.Chat on an Rocky Linux 10 server. This guide covers installing all necessary software, configuring Rocket.Chat to run as a systemd service, setting up Nginx as a reverse proxy, and securing your installation with SSL via Let’s Encrypt.
Prerequisites:
- A Rocky Linux 10 installed dedicated server or KVM VPS.
- A root user or normal user with administrative privileges.
- A domain name point A record to server's IP
How To Install Rocket.Chat on Rocky Linux 10
Step 1: Update the system
sudo dnf update -y
Step 2: Install Node.js (supported version only)
Rocket.Chat currently supports Node.js 22 LTS.
curl -fsSL https://rpm.nodesource.com/setup_22.x | sudo bash -
sudo dnf install -y nodejs
Verify:
node -v
npm -v
Node must show v22.x.
Step 3: Install MongoDB 8.0
Rocky Linux does not ship MongoDB, so we add the official repository.
Create repo file:
sudo nano /etc/yum.repos.d/mongodb-org-8.0.repo
Paste:
[mongodb-org-8.0]
name=MongoDB Repository
baseurl=https://repo.mongodb.org/yum/redhat/9/mongodb-org/8.0/x86_64/
gpgcheck=1
enabled=1
gpgkey=https://pgp.mongodb.com/server-8.0.asc
Install MongoDB:
sudo dnf install -y mongodb-org
Enable and start MongoDB:
sudo systemctl enable --now mongod
Step 4: Enable MongoDB replica set (mandatory)
Edit MongoDB config:
sudo nano /etc/mongod.conf
Add:
replication:
  replSetName: rs0
Restart MongoDB:
sudo systemctl restart mongod
Initialize replica set:
mongosh --eval '
rs.initiate({
  _id: "rs0",
  members: [{ _id: 0, host: "127.0.0.1:27017" }]
})'
Verify:
mongosh --eval 'rs.status()'
State must be PRIMARY.
Step 5: Download Rocket.Chat release bundle
cd /opt
sudo curl -L https://releases.rocket.chat/latest/download -o rocket.chat.tgz
sudo tar -xzf rocket.chat.tgz
sudo mv bundle Rocket.Chat
Step 6: Install Rocket.Chat dependencies
cd /opt/Rocket.Chat/programs/server
npm install
This step may take a few minutes.
Step 7: Run Rocket.Chat using systemd
Create a dedicated user:
sudo useradd -r -m -d /opt/rocketchat -s /bin/bash rocketchat
sudo chown -R rocketchat:rocketchat /opt/Rocket.Chat
Create service file:
sudo nano /etc/systemd/system/rocketchat.service
Paste:
[Unit]
Description=Rocket.Chat Server
After=network.target mongod.service
Requires=mongod.service

[Service]
Type=simple
User=rocketchat
WorkingDirectory=/opt/Rocket.Chat
ExecStart=/usr/bin/node main.js
Restart=always
RestartSec=10

Environment=ROOT_URL=https://chat.example.com
Environment=PORT=3000
Environment=MONGO_URL=mongodb://127.0.0.1:27017/rocketchat?replicaSet=rs0
Environment=MONGO_OPLOG_URL=mongodb://127.0.0.1:27017/local?replicaSet=rs0

LimitNOFILE=65536

[Install]
WantedBy=multi-user.target
Enable and start:
sudo systemctl daemon-reload
sudo systemctl enable rocketchat
sudo systemctl start rocketchat
Check status:
sudo systemctl status rocketchat
Step 8: Install and configure Nginx
Install Nginx:
sudo dnf install -y nginx
sudo systemctl enable --now nginx
Create config:
sudo nano /etc/nginx/conf.d/rocketchat.conf
Paste:
server {
    listen 80;
    server_name chat.example.com;

    location / {
        proxy_pass http://127.0.0.1:3000;
        proxy_http_version 1.1;

        proxy_set_header Upgrade $http_upgrade;
        proxy_set_header Connection "upgrade";
        proxy_set_header Host $host;
        proxy_set_header X-Forwarded-For $remote_addr;
        proxy_set_header X-Forwarded-Proto $scheme;
    }
}
Test and reload:
sudo nginx -t
sudo systemctl reload nginx
Step 9: Configure Firewall and SELinux
Open HTTP and HTTPS ports:
sudo firewall-cmd --add-port={80,443}/tcp --permanent
sudo firewall-cmd --reload
Allow HTTP network in SELinux:
sudo setsebool -P httpd_can_network_connect on
Step 10: Enable HTTPS with Let’s Encrypt
Install Certbot:
sudo dnf install -y certbot python3-certbot-nginx
Run Certbot:
sudo certbot --nginx -d chat.example.com
Choose redirect to HTTPS.
Verify auto-renew:
sudo certbot renew --dry-run
Final verification
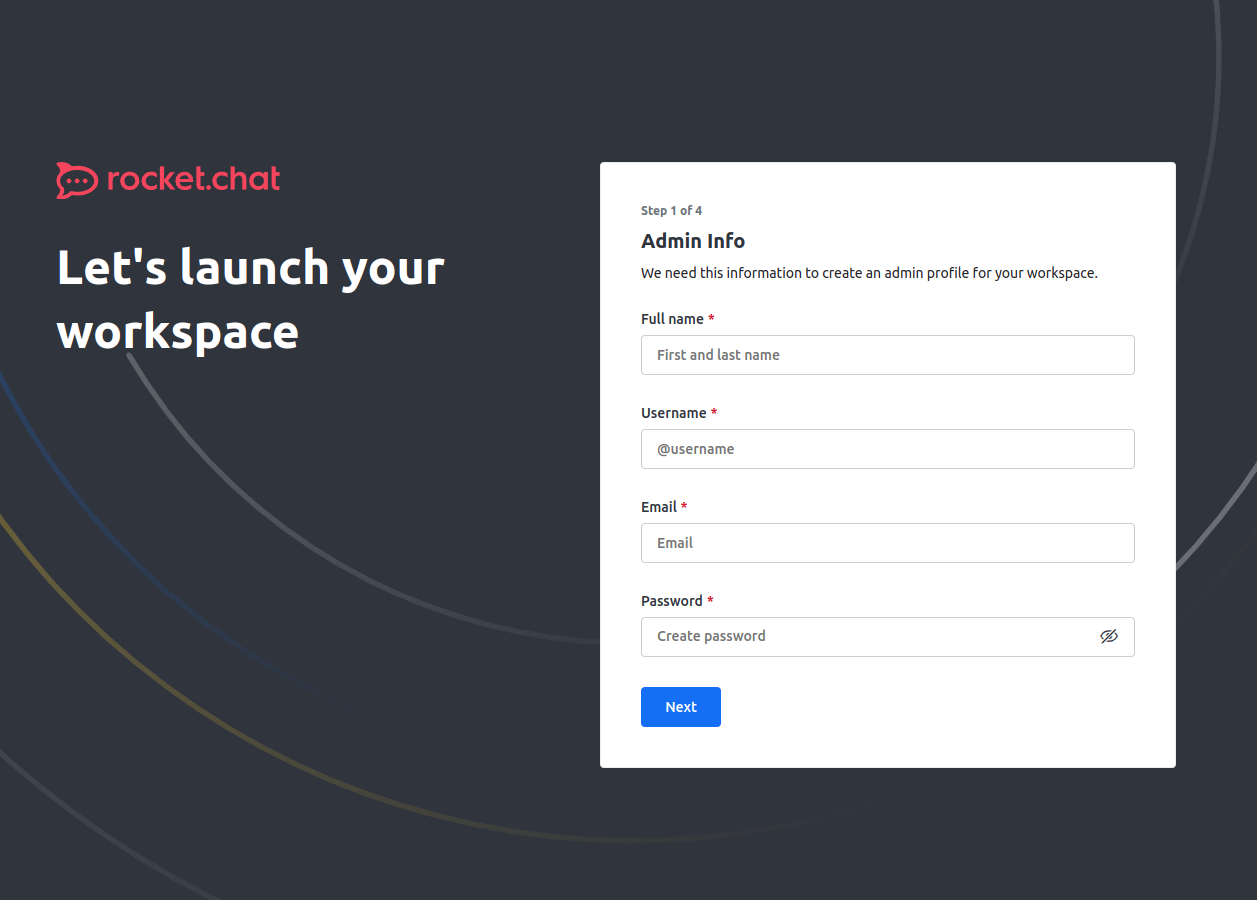
Open your browser and navigate to https://chat.yourdomain.com. You should see the Rocket.Chat setup screen.
Check Logs:
If anything isn’t working as expected, review Rocket.Chat’s logs:
sudo journalctl -u rocketchat
And check Nginx’s error logs:
sudo tail -f /var/log/nginx/error.log
DNS Considerations:
Ensure your domain (chat.example.com) points to your server’s IP address. DNS propagation can sometimes take a few minutes to hours.
Conclusion
This detailed tutorial should equip you with a strong understanding of how to install and secure Rocket.Chat on an Rocky Linux 10 server. By following these steps, you gain full control over your messaging solution, offering an open-source, privacy-focused alternative to services like Slack. Enjoy your new self-hosted chat server!
