Install and Configure Duplicati on AlmaLinux 10

In this tutorial, how to install and configure Duplicati on AlmaLinux 10.
When we manage servers or self-hosted infrastructure, reliable backups are non-negotiable. Duplicati gives us encrypted backups, a clean Web UI, scheduling, cloud-storage support, and lightweight performance. AlmaLinux 10 runs great with Duplicati, and the setup process is straightforward if we follow the correct steps.
What Is Duplicati?
Duplicati is an open-source backup tool designed for encrypted, incremental, and versioned backups across local storage, cloud storage, and remote servers. It includes a built-in Web UI accessible via browser, allowing you to schedule automated backups without relying on complex CLI tools.
Prerequisites
Before we begin, ensure we have the following:
- An AlmaLinux 10 on dedicated server or KVM VPS.
- Basic Linux Command Line Knowledge.
- A domain name pointing A record to server IP.
Below is the complete installation and configuration workflow.
How to Install and Configure Duplicati on AlmaLinux 10
Step 1: Update System Packages
Keeping packages updated prevents dependency conflicts and improves stability.
sudo dnf update
Step 2: Install Docker
Set up the repository
sudo dnf -y install dnf-plugins-core
sudo dnf config-manager --add-repo https://download.docker.com/linux/centos/docker-ce.repo
To install the latest version, run:
sudo dnf install docker-ce
Enable Docker
sudo systemctl enable --now docker
Verify:
docker --version
Step 3: Deploy Latest Duplicati Release
Create directories for persistent storage
sudo mkdir -p /opt/duplicati/config
sudo mkdir -p /opt/duplicati/backups
sudo mkdir -p /opt/duplicati/source
Run Duplicati using the official Docker image
docker run -d \
  --name duplicati \
  -p 8200:8200 \
  -v /opt/duplicati/config:/data \
  -v /opt/duplicati/backups:/backups \
  -v /:/source:ro \
  duplicati/duplicati:2.2.0.1
Explanation
- duplicati/duplicati:2.2.0.1 = official image
- -p 8200:8200 = Web UI
- /data = config, database
- /backups = backup files (if using local storage)
- /source:ro = read-only full system mount (optional)
Step 4: Access the Web UI
First, we need open 8200 port in firewall.
firewall-cmd --add-port=8200/tcp --permanent
firewall-cmd --reload
Configure SELinux
sudo setsebool -P httpd_can_network_connect 1
Next, check the Docker container:
docker ps
Check the logs:
docker logs duplicati
Look for a signin URL with token, it should looks like following:
http://localhost:8200/signin.html?token=eyJhbGciOiJIUzI1NiIsInR5cCI6IkpXVCJ9.eyJ0eXAiOiJTaWduaW5Ub2tlbiIsInNpZCI6InNlcnZlci1jbGkiLCJuYmYiOjE3NjM2MjEwNzIsImV4cCI6MTc2MzYyMTM3MiwiaXNzIjoiaHR0cHM6Ly9kdXBsaWNhdGkiLCJhdWQiOiJodHRwczovL2R1cGxpY2F0aSJ9.qe0iAEFU0JHWR2ZXrPUDV_PUaeiKeWBfCNmwHBYgXAs
Copy it and open the Web UI in our browser:
http://<server_ip>:8200/signin.html?token=eyJhbGciOiJIUzI1NiIsInR5cCI6IkpXVCJ9.eyJ0eXAiOiJTaWduaW5Ub2tlbiIsInNpZCI6InNlcnZlci1jbGkiLCJuYmYiOjE3NjM2MjEwNzIsImV4cCI6MTc2MzYyMTM3MiwiaXNzIjoiaHR0cHM6Ly9kdXBsaWNhdGkiLCJhdWQiOiJodHRwczovL2R1cGxpY2F0aSJ9.qe0iAEFU0JHWR2ZXrPUDV_PUaeiKeWBfCNmwHBYgXAs
You will see the set password window like:
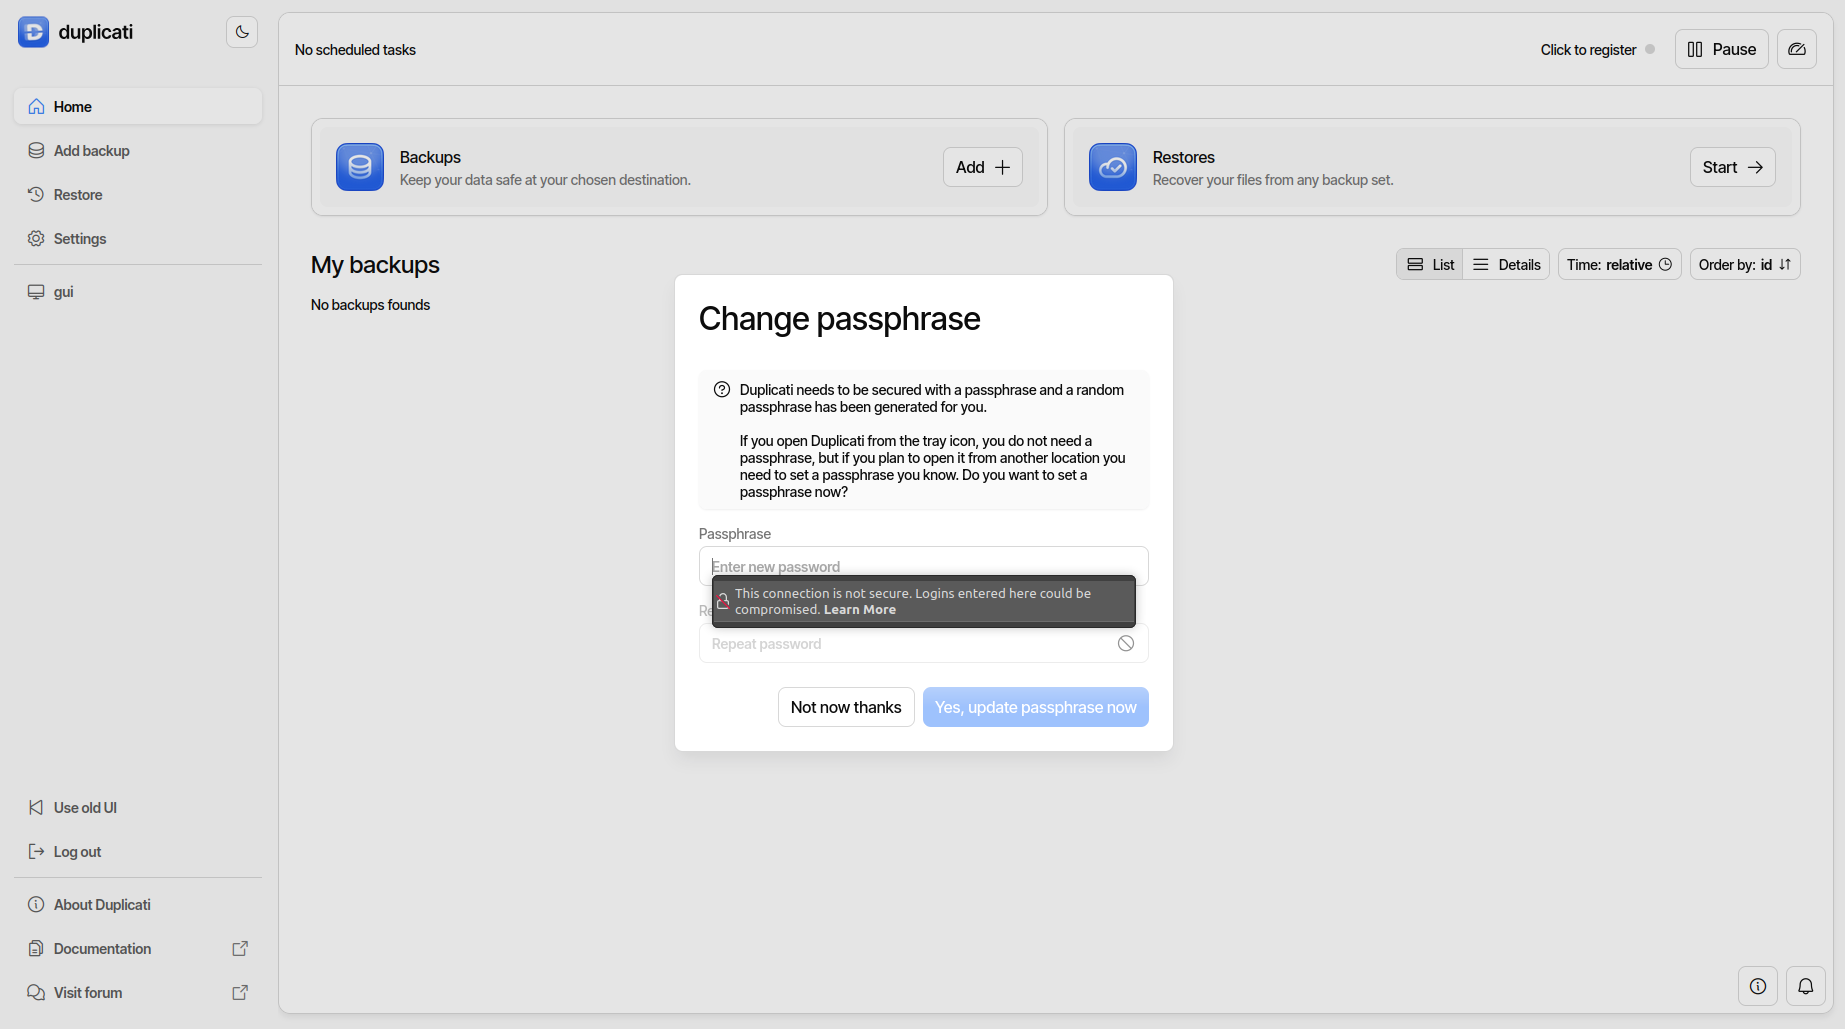
Step 5: Configure Backup Storage
Duplicati supports:
- Local directories
- S3-compatible storage
- Backblaze B2
- Google Drive
- OneDrive
- FTP / SFTP
- WebDAV
- Rclone remote backends
Inside the Web UI:
Add backup → Configure → Destination
Choose storage type and authentication.
Useful local example:
Local folder path:
/var/backups/server/
Create it:
sudo mkdir -p /var/backups/server
sudo chown -R $USER:$USER /var/backups/server
Step 6: Set Up Backup Encryption
Duplicati includes AES-256 encryption.
In the backup wizard:
Encryption → AES-256 → Create password
We store this password safely because it cannot be recovered.
Step 7: Select Folders to Back Up
Pick:
- Website files
- Databases
- Configs
- /etc
- Application data
Duplicati supports excludes, filters and versioning for clean backups.
Examples of smart exclusions:
**/cache/
*.log
tmp/
Step 8: Configure Backup Schedule
Under Schedule:
- Run daily or weekly
- Set notification/email alerts
- Enable auto retention policies
A clean retention setup:
- Keep 7 daily backups
- Keep 4 weekly backups
- Keep 12 monthly backups
Step 9: Test the Backup
Always test the first run:
sudo systemctl restart duplicati
Trigger backup manually from Web UI:
Backup → Run now
Check logs:
/root/.config/Duplicati
Or via systemctl:
journalctl -u duplicati -f
Step 10: Configure Automatic Restore (Optional)
Duplicati supports disaster recovery export.
Export backup configuration:
Backup → Export → Encryption included
This helps when we migrate servers.
Final Thoughts
Duplicati remains one of the most flexible, lightweight and encrypted backup tools available for AlmaLinux 10. With its Web UI, cloud support and smart scheduling, we can maintain a reliable backup strategy for servers, websites and self-hosted infrastructure.
This setup gives us a clean installation, automated startup, encrypted backup paths, and long-term stability for production-grade environments.
If we follow the steps above, our AlmaLinux 10 server will be ready with a secure and automated Duplicati backup system that survives crashes, power failures and accidental human mistakes.
