Fix Email Going to Spam in cPanel

Learn how to fix email going to spam using proper SPF, DKIM, DMARC, reverse DNS, and server configuration. Complete step-by-step guide for cPanel hosting to improve inbox delivery and domain reputation.
Introduction
When our emails start landing in spam, it is not random. Modern email providers evaluate technical authentication, server reputation, encryption, sending patterns, and user engagement before deciding inbox placement. If trust signals are weak or inconsistent, filters respond immediately. The correct solution is not trial and error. It is structured configuration and disciplined monitoring.
Below is a complete, clear process to restore and protect inbox delivery, especially for domains hosted on cPanel servers.
Prerequisites:
Learn how to fix email going to spam using proper SPF, DKIM, DMARC, reverse DNS, and server configuration.
Understand Why Emails Go to Spam
Modern spam filters evaluate:
- SPF authentication
- DKIM signature validity
- DMARC policy alignment
- Reverse DNS and IP reputation
- TLS encryption
- Complaint rate and engagement signals
- Content scanning with AI models
- Sending pattern anomalies
- Domain age and history
One failure is manageable. Multiple failures guarantee spam placement.
Step 1: Configure SPF Correctly
SPF defines which servers are allowed to send emails on behalf of our domain. Without it, receiving servers cannot verify legitimacy and will downgrade trust instantly.
In cPanel:
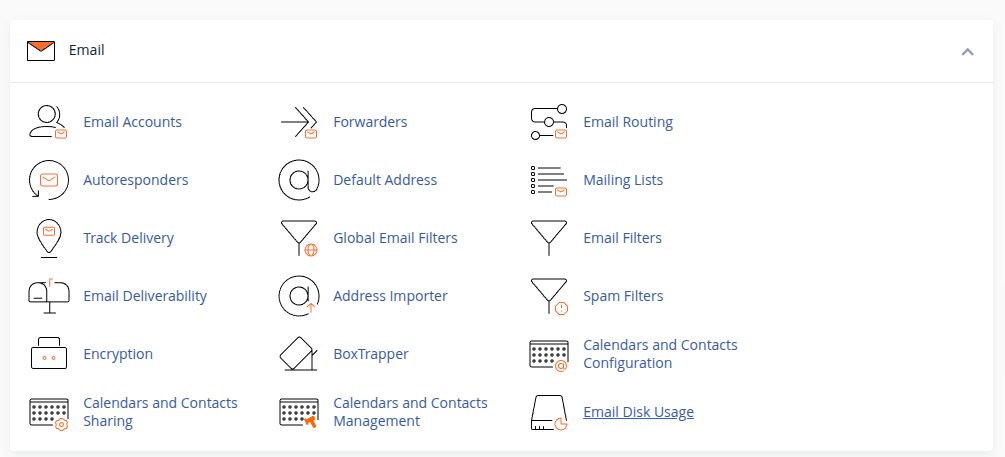
- Login to cPanel
- Go to Email Deliverability
- Click Manage next to the domain
- Enable or Repair SPF
A typical SPF record looks like:
v=spf1 ip4:SERVER_IP include:relay.mailprovider.com -all
If we use external services like Google Workspace, Mailgun, or any SMTP provider, their include mechanism must be added properly. A broken or duplicated SPF record creates immediate authentication failure.
Step 2: Enable and Validate DKIM
DKIM adds a digital signature to every outgoing email. This signature proves that the message has not been altered and that it genuinely originates from our domain.
In cPanel:
- Go to Email Deliverability
- Click Manage
- Enable or Repair DKIM
The DKIM record usually looks like:
default._domainkey.example.com
After enabling, confirm DNS propagation.
Even one DNS mismatch can cause silent failures that push emails into spam folders.
Step 3: Implement DMARC Policy
DMARC builds on SPF and DKIM and instructs receiving servers how to handle authentication failures. Without DMARC, providers cannot enforce alignment, and domain trust remains incomplete.
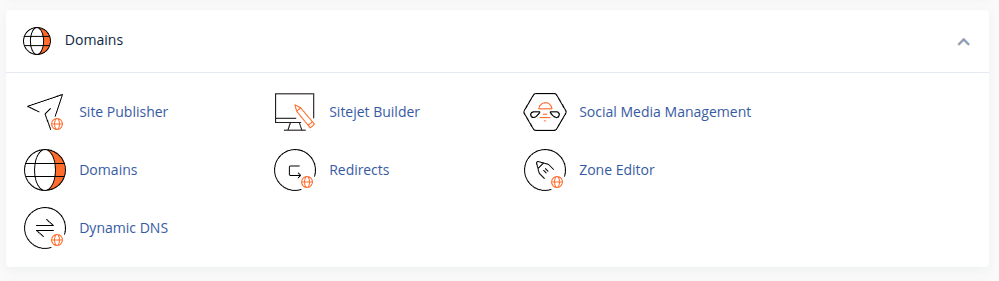
- Go to cPanel → Zone Editor
- Click Manage next to the domain
- Click Add Record
- Select TXT Record
DMARC Record Details
Name:
_dmarc.example.com
Type:
TXT
Value (Recommended Starting Policy):
v=DMARC1; p=none; rua=mailto:dmarc@example.com; ruf=mailto:dmarc@example.com; fo=1; sp=none; adkim=r; aspf=r;
Understanding the DMARC Policy
p=none→ Monitoring mode (recommended initially)rua=→ Aggregate reportsruf=→ Forensic reportsfo=1→ Failure reportingadkim=r→ Relaxed DKIM alignmentaspf=r→ Relaxed SPF alignment
We recommend starting with p=none for monitoring.
After reviewing reports and confirming authentication passes consistently, we can move to stricter enforcement:
Quarantine Policy:
p=quarantine
Reject Policy (Maximum Protection):
p=reject
Transition gradually to avoid disrupting legitimate mail flow.
Step 4: Configure Reverse DNS (PTR Record)
Reverse DNS ensures that the sending IP address resolves back to our mail hostname. If this mapping does not match, many providers immediately treat the email as suspicious.
Example:
mail.domain.com → SERVER_IP
SERVER_IP → mail.domain.com
Mismatch = high spam probability.
For VPS or Dedicated servers, the PTR record must match the mail hostname exactly. On shared hosting, this is usually managed by the provider. A mismatch between forward DNS and reverse DNS is a common and critical deliverability mistake.
Step 5: Enable Secure SMTP with SSL/TLS
Encrypted email transmission protects message integrity and improves trust scoring. Providers expect secure connections for authentication and delivery.
Test using:
openssl s_client -connect mail.domain.com:465
We confirm that SSL/TLS is enabled in cPanel and that a valid certificate is installed for the mail hostname. Ports 465 or 587 should be used instead of unsecured alternatives. Sending mail without encryption reduces reputation and increases filtering probability.
Step 6: Check Server and IP Reputation
Even if authentication is correct, a poor IP reputation can override all other settings. Shared IP environments may sometimes be affected by other users’ behavior.
We check reputation using tools like Google Postmaster Tools, Microsoft SNDS, and blacklist databases. If listed, we pause sending, identify compromised accounts or scripts, and request removal. Reputation must be actively monitored, not assumed.
Step 7: Review Sending Behavior and Email Content
Spam filters analyze patterns such as sudden spikes in volume, excessive links, misleading subject lines, or image-heavy emails without proper text balance.
We maintain clean formatting, include both HTML and plain-text versions, avoid URL shorteners, and ensure unsubscribe options exist for marketing campaigns. Responsible sending behavior builds long-term trust more effectively than any single DNS setting.
Step 8: Secure All Email Accounts
Compromised accounts can destroy domain reputation within hours. Many spam incidents originate from weak passwords or infected websites sending mail scripts.
We enforce strong passwords, enable two-factor authentication where available, disable unused mailboxes, and regularly scan websites for malware. Preventive security is essential for stable deliverability.
Step 9: Warm Up New Domains and IPs
New domains and fresh IP addresses do not have a trust history. Sending large volumes immediately can trigger automated filtering.
We start with low-volume communication and increase gradually over several weeks. Encouraging replies and engagement helps establish positive behavioral signals with major mailbox providers.
Step 10: Separate Transactional and Marketing Emails
Mixing marketing campaigns with critical transactional emails can damage important communication flows. Marketing emails naturally carry higher risk of complaints.
Where possible, we use a dedicated subdomain or separate sending service for marketing campaigns. This protects the primary domain reputation and ensures business-critical messages remain stable.
Step 11: Verify Authentication Through Header Analysis
After configuration changes, we send test emails to Gmail and Outlook and inspect full email headers. SPF, DKIM, and DMARC must all show as “pass” and align with the From domain.
Authentication passing alone is not enough; alignment must also match. Proper header verification confirms that technical setup is functioning as expected.
Final Perspective
Email going to spam is rarely caused by a single mistake. It is usually the result of incomplete authentication, weak infrastructure configuration, inconsistent sending patterns, or security gaps. When SPF, DKIM, DMARC, reverse DNS, TLS encryption, and disciplined sending practices are aligned, inbox placement becomes predictable.
Deliverability is not a one-time fix. It is an ongoing process of monitoring, authentication integrity, and reputation management. When we treat email infrastructure with the same seriousness as web hosting infrastructure, our communication remains trusted, professional, and reliable.
