How to Configure SPF, DKIM & DMARC in cPanel

Learn how we configure SPF, DKIM and DMARC in cPanel to improve email deliverability and protect domain reputation. Step-by-step guide with best practices.
Introduction
Email authentication is no longer a technical recommendation. It is a mandatory requirement for reliable inbox delivery, strong domain reputation, and protection against spoofing and phishing attempts. Major email providers such as Gmail, Outlook, and Yahoo now enforce strict SPF, DKIM, and DMARC validation policies. When these records are missing or misconfigured, emails may be filtered to spam or rejected before reaching the recipient.
In this guide, we configure SPF, DKIM, and DMARC properly within cPanel using current best practices and modern email security standards. This tutorial is designed to help businesses, startups, and hosting customers implement secure and compliant email authentication with clarity and confidence.
Prerequisites:
Learn how we configure SPF, DKIM and DMARC in cPanel to improve email deliverability
Why SPF, DKIM and DMARC Matter
Before we configure anything, it is important to understand their purpose:
SPF (Sender Policy Framework) defines which mail servers are authorized to send email on behalf of our domain.
DKIM (DomainKeys Identified Mail) digitally signs outgoing messages to verify authenticity and prevent tampering.
DMARC (Domain-based Message Authentication, Reporting & Conformance) instructs receiving servers how to handle messages that fail SPF or DKIM checks.
Together, they protect domain reputation, reduce phishing risk, and improve inbox placement.
Step 1: Enable SPF and DKIM in cPanel
Most modern cPanel installations include an “Email Deliverability” interface that simplifies setup.
Access Email Deliverability
- Log in to cPanel
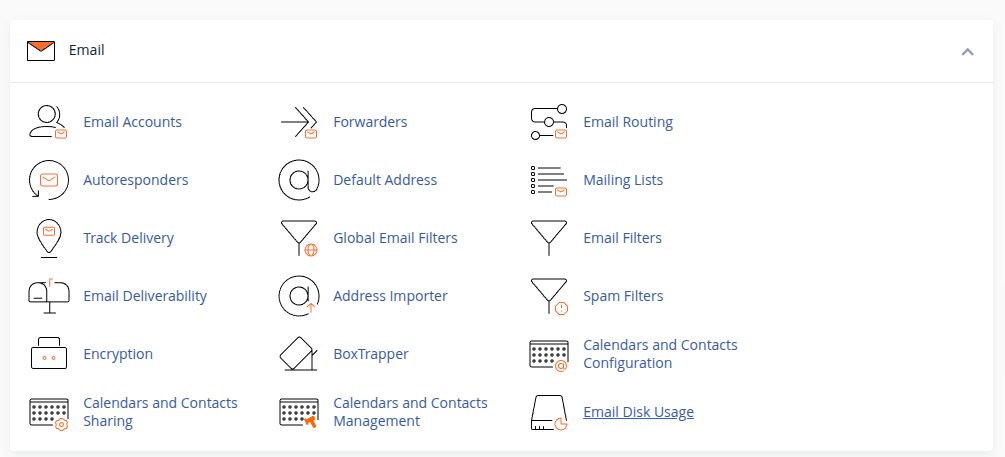
- Navigate to Email
- Click Email Deliverability
cPanel automatically detects missing or misconfigured records.
Enable SPF
If SPF is not enabled:
- Click Manage next to the domain
- Click Repair or Install Suggested Record
cPanel will generate a valid SPF TXT record similar to:
v=spf1 +a +mx +ip4:SERVER_IP ~all
We should review the record if we use external mail services like:
- Google Workspace
- Microsoft 365
- Mailgun
- SendGrid
- Zoho Mail
If third-party services are used, their SPF include mechanism must be added, for example:
include:_spf.google.com
Important best practice:
SPF must contain only one TXT record per domain. Multiple SPF records cause validation failure.
Enable DKIM
In the same Email Deliverability section:
Click Repair under DKIM if not enabled
cPanel will automatically generate:
- A private key (stored on the server)
- A public key (added as a DNS TXT record)
The DKIM record usually looks like:
default._domainkey.example.com
This record contains a long public key string.
No manual modification is required unless we use external mail servers.
Step 2: Configure DMARC (Manual DNS Record)
Unlike SPF and DKIM, DMARC is not always automatically configured. We must create it manually.
Add DMARC Record
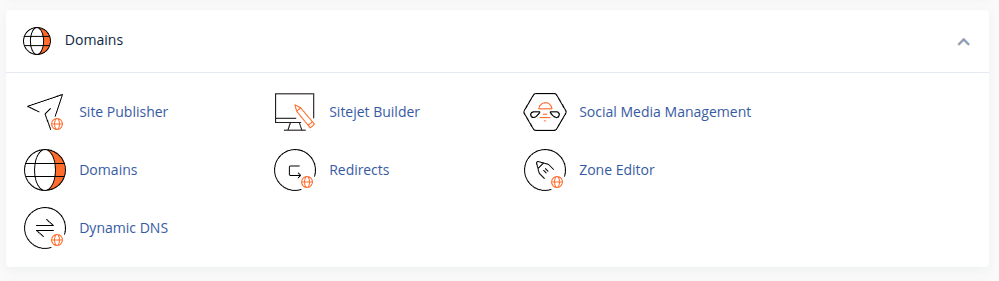
- Go to cPanel → Zone Editor
- Click Manage next to the domain
- Click Add Record
- Select TXT Record
DMARC Record Details
Name:
_dmarc.example.com
Type:
TXT
Value (Recommended Starting Policy):
v=DMARC1; p=none; rua=mailto:dmarc@example.com; ruf=mailto:dmarc@example.com; fo=1; sp=none; adkim=r; aspf=r;
Understanding the DMARC Policy
p=none→ Monitoring mode (recommended initially)rua=→ Aggregate reportsruf=→ Forensic reportsfo=1→ Failure reportingadkim=r→ Relaxed DKIM alignmentaspf=r→ Relaxed SPF alignment
We recommend starting with p=none for monitoring.
After reviewing reports and confirming authentication passes consistently, we can move to stricter enforcement:
Quarantine Policy:
p=quarantine
Reject Policy (Maximum Protection):
p=reject
Transition gradually to avoid disrupting legitimate mail flow.
Step 3: Verify Authentication Records
After configuration, validation is essential.
We should:
- Use online DMARC/SPF/DKIM validators
- Check Gmail email headers
- Confirm “SPF: PASS” and “DKIM: PASS”
- Confirm “DMARC: PASS”
Propagation may take up to 24 hours depending on DNS TTL settings.
Common Configuration Mistakes
To protect domain reputation, we must avoid these errors:
- Multiple SPF records
- Missing third-party includes
- Incorrect DMARC email address
- Setting p=reject without testing
- Not monitoring DMARC reports
Email authentication is not a one-time setup. It requires monitoring and maintenance.
Recommended Best Practice
For production environments, a properly secured configuration typically looks like:
- SPF with all authorized mail sources included
- DKIM enabled with 2048-bit key
- DMARC gradually enforced to p=reject
- Dedicated mailbox for DMARC reports
- Regular review of authentication failures
Major providers are increasingly enforcing strict alignment. Strong DMARC policy is now considered essential for business email reliability.
Final Thoughts
Configuring SPF, DKIM, and DMARC in cPanel is straightforward when approached methodically. Proper email authentication protects our brand, improves inbox delivery, and builds trust with recipients.
A secure email foundation is not just a technical improvement. It is a reputation safeguard.
When implemented correctly and monitored consistently, SPF, DKIM, and DMARC create a reliable and professional email environment that aligns with modern email security standards.
