Deploy a EspoCRMon Ubuntu with LAMP

In this tutorial, we'll learn how to deploy a EspoCRMon Ubuntu with LAMP, a simple CRM.
A reliable Customer Relationship Management (CRM) system can make all the difference. We’ve found EspoCRM to be an excellent, free, open-source solution that is both lightweight and highly customizable. With version 9.1.6 released on June 16, 2025, EspoCRM brings powerful new features and improved performance to help our teams manage leads, contacts, and sales pipelines with ease.
We’ll walk through deploying EspoCRM on an Ubuntu server using a classic LAMP stack (Linux, Apache, MySQL, PHP). Our goal is to provide deep insights at every step so you can confidently launch your own CRM in just under an hour.
Prerequisites
Before we begin, let’s ensure our environment meets the following requirements:
- A Ubuntu 24.04 installed dedicated server or KVM VPS.
- Root or sudo access – To install and configure system services.
- At least 1 GB of RAM and 2 CPU cores – For smooth performance under light to moderate load.
- Open ports 80 (HTTP) and 443 (HTTPS) – If you plan to enable SSL/TLS later.
- A domain name (optional) – e.g., crm.example.com pointing to your server’s IP for production.
Deploy a EspoCRMon Ubuntu with LAMP
Step 1: Update the System
First, we’ll refresh package lists and upgrade any outdated packages:
sudo apt update && sudo apt upgrade -y
This ensures our server has the latest security patches and software improvements.
Step 2: Install Apache
Apache is the most widely used web server for LAMP deployments. We’ll install it and verify that it runs:
sudo apt install apache2 -y
sudo systemctl enable apache2
sudo systemctl start apache2
Once started, confirm by visiting your server’s IP address in a browser. You should see the default Apache welcome page.
Step 3: Install MySQL
EspoCRM uses MySQL (or MariaDB) to store its data. We’ll install MySQL server and secure the installation:
sudo apt install mysql-server -y
sudo mysql_secure_installation
During the secure setup, we recommend:
- Setting a strong root password.
- Disallowing remote root login.
- Removing anonymous users.
- Dropping the test database.
- Reloading privilege tables.
Step 4: Install PHP and Required Extensions
EspoCRM 9.1.6 requires PHP 8.1 or 8.3 along with several extensions. We’ll install PHP and the most common modules:
sudo apt install php php-cli php-xml php-mbstring php-curl php-zip php-gd php-intl php-mysql libapache2-mod-php -y
To ensure optimal performance, we’ll tweak two settings in /etc/php/8.3/apache2/php.ini (adjust path if using PHP 8.1):
nano /etc/php/8.3/apache2/php.ini
Adjust following values:
memory_limit = 512M
max_execution_time = 300
max_input_time = 180
post_max_size = 20M
upload_max_filesize = 20M
After editing, restart Apache:
sudo systemctl restart apache2
Step 5: Download and Extract EspoCRM
Now we’ll fetch the latest EspoCRM archive. Replace 9.1.6 with a newer version if available .
cd /tmp
wget https://www.espocrm.com/downloads/EspoCRM-9.1.6.zip
unzip EspoCRM-9.1.6.zip
sudo mv EspoCRM-9.1.6 /var/www/html/espocrm
Step 6: Set File Permissions
Proper permissions are crucial for security and functionality. We’ll grant ownership to the Apache user and set directory permissions:
sudo chown -R www-data:www-data /var/www/html/espocrm
sudo find /var/www/html/espocrm -type d -exec chmod 750 {} \;
sudo find /var/www/html/espocrm -type f -exec chmod 640 {} \;
Step 7: Create the Database and User
Next, we’ll create a MySQL database and dedicated user for EspoCRM:
sudo mysql -u root -p
Inside the MySQL prompt:
CREATE DATABASE espocrm CHARACTER SET utf8mb4 COLLATE utf8mb4_unicode_ci;
CREATE USER 'espouser'@'localhost' IDENTIFIED BY 'StrongPasswordHere';
GRANT ALL PRIVILEGES ON espocrm.* TO 'espouser'@'localhost';
FLUSH PRIVILEGES;
EXIT;
Replace StrongPasswordHere with a robust password.
Step 8: Configure Apache Virtual Host
Instead of using the default site, we’ll create a dedicated virtual host for cleaner URLs:
sudo nano /etc/apache2/sites-available/espocrm.conf
Add the following, updating ServerName to your domain or server IP:
<VirtualHost *:80>
    ServerName crm.example.com
    DocumentRoot /var/www/html/espocrm

    <Directory /var/www/html/espocrm>
        AllowOverride All
        Require all granted
    </Directory>

    ErrorLog ${APACHE_LOG_DIR}/espocrm_error.log
    CustomLog ${APACHE_LOG_DIR}/espocrm_access.log combined
</VirtualHost>
Enable the site and the rewrite module:
sudo a2ensite espocrm
sudo a2enmod rewrite
sudo systemctl reload apache2
Step 9: Configure Firewall
Firewall rules: Allow only necessary ports and block unused services:
sudo ufw allow 'Apache Full'
sudo ufw enable
Step 10: Secure and Optimize
To harden our CRM and improve performance:
Enable HTTPS: Use Let’s Encrypt for free SSL/TLS protection:
sudo apt install certbot python3-certbot-apache -y
sudo certbot --apache -d crm.example.com
Step 11: Run the Web Installer
With everything in place, we can launch the EspoCRM installer. In your browser, navigate to:
http://crm.example.com
https://hostperl-kb-api.hostperl.com/static//images/blogs/2025/espocrm-first-page.png
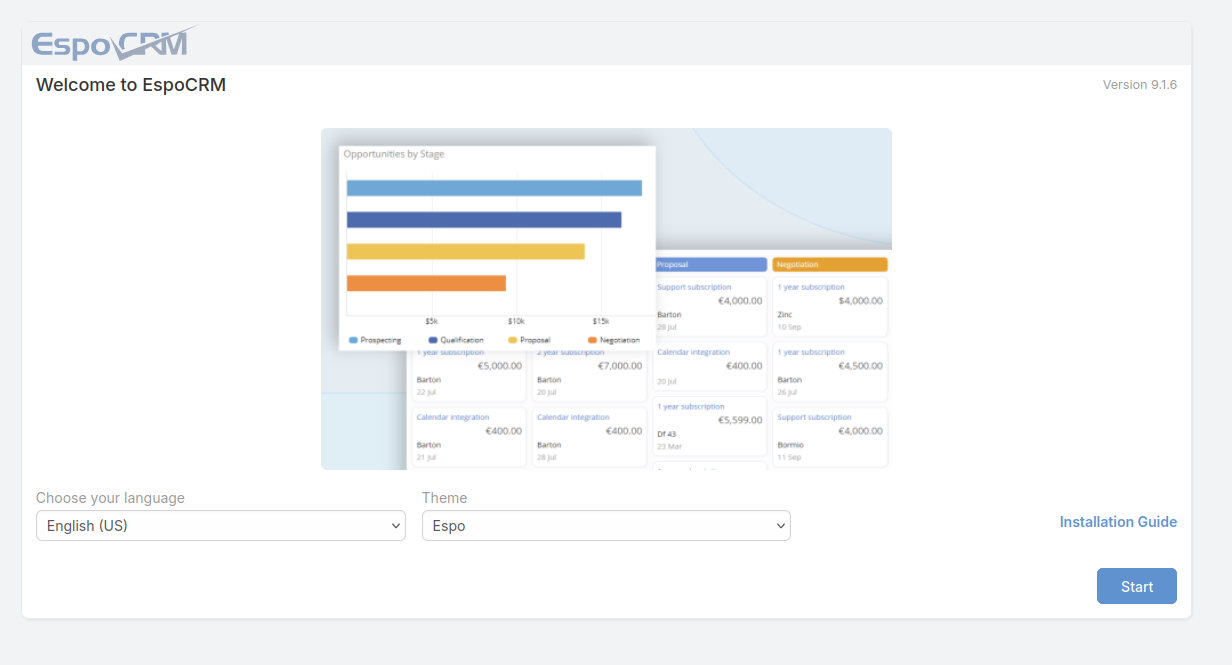
(or http://<your-server-ip>/espocrm if not using a domain). The installer will guide us through:
- System requirements check – Ensure all PHP extensions and permissions are correct.
- Database configuration – Enter espocrm, espouser, and the password we set earlier.
- Administrator account – Create the first admin user for EspoCRM.
- Initial settings – Base URL, timezone, and optional email configuration.
Once complete, the installer will prompt us to remove or rename the data/installer directory for security.
Regular backups: Schedule mysqldump and file backups to safeguard data.
Conclusion
Deploying EspoCRM on Ubuntu with a LAMP stack is straightforward when we follow best practices for security, performance, and maintainability. By installing Apache, MySQL, and PHP, configuring virtual hosts, and tuning permissions, we’ve laid a solid foundation for a scalable CRM. With EspoCRM 9.1.6’s modern feature set, our team can now track relationships and sales processes efficiently. Feel free to explore EspoCRM’s vast extension library and community forums to extend functionality further. Happy deploying!
