Install Wiki.js on Ubuntu 24.04 with Node.js

Learn how to install and configure Wiki.js on Ubuntu 24.04 using Node.js, PostgreSQL, and Nginx. Step-by-step guide for setting up a modern self-hosted wiki.
In today's fast-paced digital world, we often need a centralized place to document ideas, workflows, internal processes, or even personal knowledge bases. That's where Wiki.js stands out — a modern, open-source, and powerful wiki engine built on Node.js, designed for teams and individuals who care about performance, design, and simplicity.
What is Wiki.js
Wiki.js is a modern, open-source wiki platform built on Node.js. It offers a fast, lightweight, and beautifully designed interface for creating and managing documentation or knowledge bases. With built-in support for Markdown editing, version control, authentication systems, and integrations, Wiki.js is ideal for teams and individuals who want a powerful, self-hosted alternative to traditional wiki software.
We’ll walk through how we can install Wiki.js on Ubuntu 24.04, using Node.js, PostgreSQL, and Nginx for reverse proxy (with optional HTTPS). Whether we’re setting this up for our team or personal knowledge base, this guide covers the latest best practices.
Prerequisites
Before we begin, let’s ensure our environment meets the following requirements:
- A Ubuntu 24.04 installed dedicated server or KVM VPS.
- A non-root user with sudo privileges.
- Basic knowledge of using the terminal.
- A domain name pointing to server IP.
Install Wiki.js on Ubuntu 24.04 with Node.js
Step 1: Update Our System
We start by updating the system packages to ensure everything is fresh and secure.
sudo apt update && sudo apt upgrade -y
Step 2: Install Required Dependencies
Wiki.js requires Node.js (v18+ recommended) and Git.
sudo apt install curl git -y
curl -fsSL https://deb.nodesource.com/setup_lts.x | sudo -E bash -
sudo apt install -y nodejs
Check if it's installed correctly:
node -v
npm -v
Step 3: Install and Configure PostgreSQL
Wiki.js needs a PostgreSQL database. We’ll install and create a dedicated user and database for it.
sudo apt install postgresql postgresql-contrib -y
Switch to the postgres user and open the PostgreSQL shell:
sudo -i -u postgres
psql
Now, create a user and database:
CREATE USER wikijs WITH PASSWORD 'yourStrongPassword';
CREATE DATABASE wikidb OWNER wikijs;
\q
exit
Replace 'yourStrongPassword' with a secure password — we’ll need it later.
Step 4: Download Wiki.js
Let’s download the latest Wiki.js release into /var/www/wiki.
sudo mkdir -p /var/www/wiki
sudo chown -R www-data:www-data /var/www/wiki
cd /var/www/wiki
Download the latest stable build (as of 2025):
wget https://github.com/requarks/wiki/releases/download/v2.5.307/wiki-js.tar.gz
Extract the file:
tar -xzf wiki-*.tar.gz
rm wiki-*.tar.gz
Step 5: Configure Wiki.js
Copy the example configuration:
cp config.sample.yml config.yml
Now edit config.yml:
nano config.yml
Update the PostgreSQL section:
db:
  type: postgres
  host: localhost
  port: 5432
  user: wikijs
  pass: yourStrongPassword
  db: wikidb
Optionally, configure port and HTTPS settings later in the same file if using reverse proxy.
Step 6: Start Wiki.js Manually for the First Time
We run Wiki.js once to ensure it works:
node server
Step 7: Set Up Wiki.js as a Systemd Service
To keep Wiki.js running in the background, we set it up as a systemd service:
sudo nano /etc/systemd/system/wikijs.service
Paste the following:
[Unit]
Description=Wiki.js
After=network.target

[Service]
Type=simple
ExecStart=/usr/bin/node /var/www/wiki/server
WorkingDirectory=/var/www/wiki
Restart=always
User=www-data
Environment=NODE_ENV=production

[Install]
WantedBy=multi-user.target
Enable and start the service:
sudo systemctl daemon-reexec
sudo systemctl daemon-reload
sudo systemctl enable wikijs
sudo systemctl start wikijs
Check status:
sudo systemctl status wikijs
Step 8: Install and Configure Nginx as a Reverse Proxy
We’ll use Nginx to serve Wiki.js over HTTP (and optionally HTTPS with SSL).
sudo apt install nginx -y
sudo nano /etc/nginx/sites-available/wiki
Paste the following basic reverse proxy config:
server {
    listen 80;
    server_name wiki.example.com;

    location / {
        proxy_pass http://localhost:3000;
        proxy_http_version 1.1;
        proxy_set_header Upgrade $http_upgrade;
        proxy_set_header Connection 'upgrade';
        proxy_set_header Host $host;
        proxy_cache_bypass $http_upgrade;
    }
}
Enable the config:
sudo ln -s /etc/nginx/sites-available/wiki /etc/nginx/sites-enabled/
sudo nginx -t
sudo systemctl restart nginx
Step 9: Secure with SSL using Let’s Encrypt
For HTTPS, we’ll use Certbot:
sudo apt install certbot python3-certbot-nginx -y
Now run Certbot:
sudo certbot --nginx -d wiki.example.com
Follow the prompts to enable HTTPS.
Set up auto-renew:
sudo systemctl enable certbot.timer
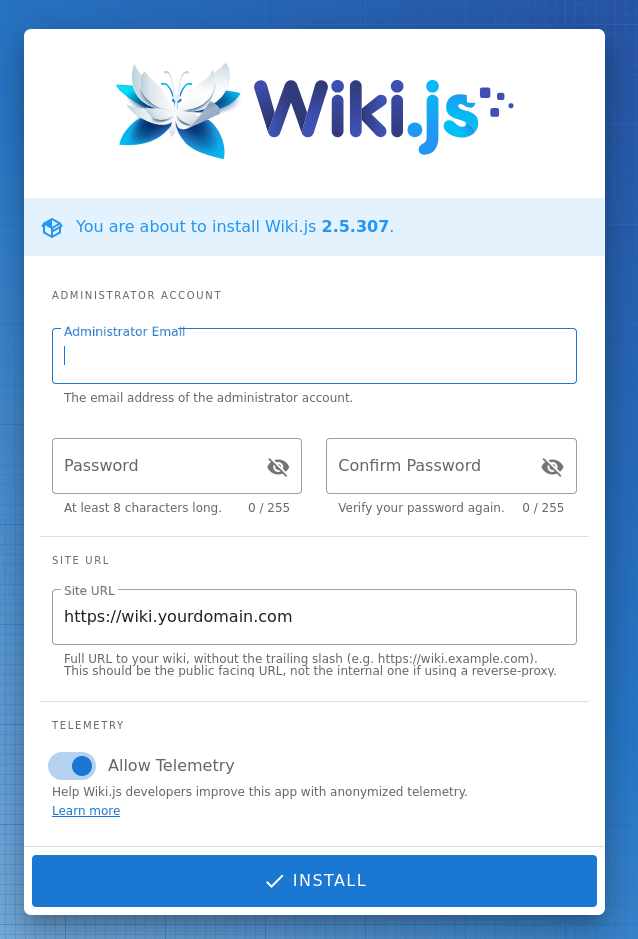
Open your browser and go to: https://wiki.example.com
This launches the setup wizard. Complete the admin account creation and basic config.
Final Words
At this point, our Wiki.js setup is complete and fully functional. We can now manage users, install extensions, set permissions, and begin building our knowledge base. Wiki.js is designed for modern teams, supports Markdown editing, authentication integrations, and has a clean UI we’ll love.
By hosting it ourselves, we gain full control, customization, and privacy. Whether we’re running this on a home server or in a corporate environment, Wiki.js remains one of the smartest tools for internal documentation.
Checkout our low cost dedicated servers.
