Deploying WordPress with Nginx on AlmaLinux 9

In this tutorial, we're deploying WordPress with Nginx on AlmaLinux 9, using MariaDB for database and securing with SSL via Let's Encrypt. WordPress is most popular open source CMS.
This comprehensive tutorial provides a step-by-step guide to deploying WordPress with Nginx on AlmaLinux 9, using MariaDB for database management and securing your site with SSL via Let's Encrypt.
By the end of this tutorial, you will have a fully functional WordPress website running on a secure Nginx web server with a MariaDB backend, ready to create and manage content efficiently. This guide is designed for users with a basic understanding of terminal commands and aims to make the deployment process as smooth and straightforward as possible.
Sure, let's go through a detailed step-by-step tutorial for deploying WordPress with Nginx on AlmaLinux 9, using MariaDB for the database and installing SSL with Let's Encrypt.
Deploying WordPress with Nginx on AlmaLinux
Prerequisites
- AlmaLinux 9 dedicated server or KVM VPS
- A root user or non-root user having sudo privileges.
- A domain name pointing to your server.
- Basic knowledge of terminal commands.
Step 1: Update the System
First, ensure your system is up-to-date.
sudo dnf update -y
Step 2: Install Nginx
Install Nginx web server.
sudo dnf install nginx -y
Start and enable Nginx.
sudo systemctl start nginx
sudo systemctl enable nginx
Step 3: Install and Configure MariaDB
Install MariaDB server.
sudo dnf install mariadb-server -y
Start and enable MariaDB.
sudo systemctl start mariadb
sudo systemctl enable mariadb
Run the MariaDB secure installation script.
sudo mysql_secure_installation
Follow the prompts to secure your MariaDB installation.
Create a Database for WordPress
Log into MariaDB.
sudo mysql -u root -p
Create the database and user.
CREATE DATABASE wordpress;
CREATE USER 'wpuser'@'localhost' IDENTIFIED BY 'password';
GRANT ALL PRIVILEGES ON wordpress.* TO 'wpuser'@'localhost';
FLUSH PRIVILEGES;
EXIT;
Step 4: Install PHP
Install PHP and necessary extensions.
sudo dnf install php php-fpm php-mysqlnd php-json php-xml php-mbstring -y
Start and enable PHP-FPM.
sudo systemctl start php-fpm
sudo systemctl enable php-fpm
Step 5: Download and Configure WordPress
Download the latest version of WordPress.
wget https://wordpress.org/latest.tar.gz
tar -xvf latest.tar.gz
sudo mv wordpress /var/www/html/
Set the correct permissions.
sudo chown -R nginx:nginx /var/www/html/wordpress
Step 6: Configure Firewall
We need to add HTTP and HTTPS ports in the firewall. Execute following set of commands:
firewall-cmd --add-port=80/tcp --permanent
firewall-cmd --add-port=443/tcp --permanent
firewall-cmd --reload
Step 7: Configure Nginx
Create a new Nginx configuration file for WordPress.
sudo nano /etc/nginx/conf.d/wordpress.conf
Add the following configuration.
server {
    listen 80;
    server_name your_domain;
    root /var/www/html/wordpress;
    index index.php index.html index.htm;

    location / {
        try_files $uri $uri/ /index.php?$args;
    }

    location ~ \.php$ {
        include /etc/nginx/fastcgi_params;
        fastcgi_pass unix:/run/php-fpm/www.sock;
        fastcgi_index index.php;
        fastcgi_param SCRIPT_FILENAME $document_root$fastcgi_script_name;
    }

    location ~ /\.ht {
        deny all;
    }
}
Test the Nginx configuration and restart Nginx.
sudo nginx -t
sudo systemctl restart nginx
Step 8: Configure SELinux (Optional)
If you have enabled SELinux, follow this step.
Configure SELinux for Nginx. Allow Nginx to access the network:
sudo setsebool -P httpd_can_network_connect 1
Allow Nginx to read/write to the wordpress directory:
sudo semanage fcontext -a -t httpd_sys_rw_content_t "/var/www/html/wordpress(/.*)?"
sudo restorecon -Rv /var/www/html/wordpress
Step 9: Install SSL with Let's Encrypt
Install Certbot and the Nginx plugin.
sudo dnf install certbot python3-certbot-nginx -y
Obtain and install the SSL certificate.
Note: Replace your_domain with your domain name.
sudo certbot --nginx -d your_domain
Follow the prompts to complete the installation and configure Nginx to use SSL.
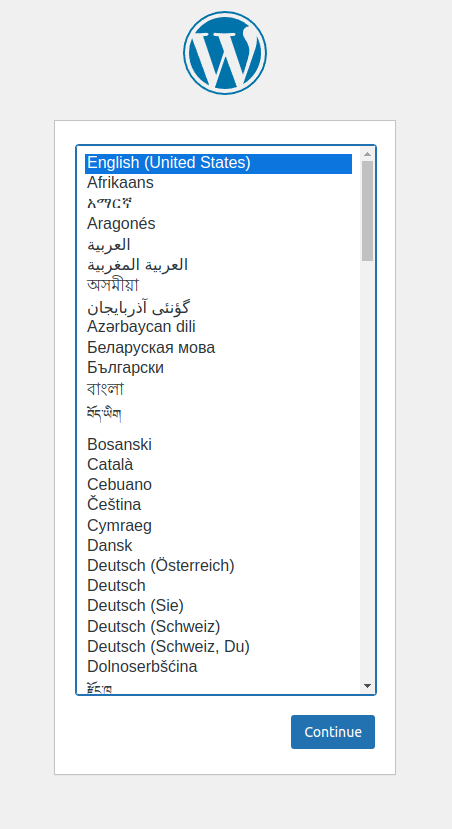
Step 10: Complete WordPress Setup
Navigate to https://your_domain in your web browser and follow the on-screen instructions to complete the WordPress setup.
Your WordPress site should now be running securely over HTTPS.
This completes the deployment of WordPress with Nginx on AlmaLinux 9 using MariaDB for the database and installing SSL with Let's Encrypt.
