How To Install Kimai on a Ubuntu 24.04

In this tutorial, we have covered step-by-step guide on how to install Kimai on a Ubuntu 24.04. A self-hosted time-tracking application.
Kimai is popular among freelancers and businesses for its intuitive interface and powerful reporting tools. Each step below includes explanations so you understand not just what to do, but also why you’re doing it.
Prerequisites
- A Ubuntu 24.04 installed dedicated server or KVM VPS.
- A root user or normal user with administrative privileges.
- A domain name point A record to server's IP
How To Install Kimai on a Ubuntu 24.04
1. Update and Prepare Your Server
Update Your Package List
Open your terminal or SSH into your Ubuntu server. It’s always a good practice to ensure that your server packages are up to date before installing any new software.
sudo apt update
sudo apt upgrade -y
The -y flag automatically confirms any prompts to install updates.
Install Basic Tools
While many of these might be installed by default, it’s good to be certain.
sudo apt install software-properties-common zip unzip curl -y
- software-properties-common helps manage repository settings.
- zip and unzip allow you to compress and extract archives.
- curl helps you download files and check network endpoints.
2. Install Apache (or Nginx)
Kimai runs on PHP, which needs a web server to handle requests. Apache is straightforward and widely used; you can also use Nginx if you prefer.
Install Apache
sudo apt install apache2 -y
- Installs the Apache web server on your Ubuntu server.
- After installation, Apache will automatically start running.
Check if Apache is Running
sudo systemctl status apache2
If it’s active (running), you’re good to go.
If not, start it manually: sudo systemctl start apache2.
Enable Apache on Boot
sudo systemctl enable apache2
Ensures Apache automatically starts after a server reboot.
(If you prefer using Nginx, you would install it by running sudo apt install nginx -y and configure the virtual host accordingly. For simplicity, this guide focuses on Apache.)
3. Install and Configure PHP
Kimai requires PHP with several extensions. Ubuntu 24.04 typically has a newer version of PHP (for example, PHP 8.x).
Install PHP and Required Extensions
sudo apt install php php-cli php-fpm php-common \
php-gd php-intl php-mbstring php-mysql php-xml \
php-zip php-curl php-ldap -y
php-cli: Command-line interface for running PHP scripts.php-fpm: FastCGI process manager for PHP, helps with performance.php-mbstring: Needed for string manipulation in various encodings.php-mysql: Allows PHP to communicate with MySQL/MariaDB databases.php-intl: Important for internationalization and date formatting.php-xml, php-zip, php-curl, php-gd: Various functionalities that Kimai needs to generate PDFs, handle files, and manage HTTP requests.php-ldap: Required if you plan to integrate Kimai with an LDAP directory.
Adjust PHP Settings
Open the main PHP configuration file or the relevant pool file (often found at /etc/php/8.3/apache2/php.ini) in your favorite text editor:
sudo nano /etc/php/8.3/apache2/php.ini
Look for these settings and adjust them if necessary (for example, increasing the maximum file upload size or memory limit):
memory_limit = 256M
upload_max_filesize = 50M
post_max_size = 50M
- memory_limit controls how much memory a PHP script can use.
- upload_max_filesize and post_max_size control allowed file upload sizes.
Restart Apache
sudo systemctl restart apache2
Applies any configuration changes immediately.
4. Install MariaDB (or MySQL) and Create a Database
Kimai stores its data (projects, timesheets, user info, etc.) in a database. MariaDB is a popular open-source fork of MySQL.
Install MariaDB
sudo apt install mariadb-server mariadb-client -y
Secure Your MariaDB Server
sudo mysql_secure_installation
You’ll be prompted to set a root password, remove anonymous users, disable remote root login, and more. These steps help secure your database.
Create a Database and User for Kimai
Log into the MariaDB shell:
sudo mysql
Inside the MariaDB shell, run the following queries (adjust values to match your preferences—here we use kimai_db, kimai_user, and StrongPassword as placeholders):
CREATE DATABASE kimai_db CHARACTER SET utf8mb4 COLLATE utf8mb4_unicode_ci;
CREATE USER 'kimai_user'@'localhost' IDENTIFIED BY 'StrongPassword';
GRANT ALL PRIVILEGES ON kimai_db.* TO 'kimai_user'@'localhost';
FLUSH PRIVILEGES;
EXIT;
- kimai_db: The new database’s name.
- kimai_user: The username for the Kimai database user.
- StrongPassword: A secure password for that user.
5. Install Composer (PHP Dependency Manager)
Composer is critical because Kimai’s dependencies—such as libraries and frameworks—are managed using Composer.
Download and Install Composer
curl -sS https://getcomposer.org/installer -o composer-setup.php
php composer-setup.php --install-dir=/usr/local/bin --filename=composer
Downloads Composer’s installer script.
Installs Composer globally to /usr/local/bin, naming it composer.
Verify Composer is Working
composer --version
You should see the installed version printed in your terminal.
6. Download and Install Kimai
Now that we have PHP, Composer, and MariaDB set up, we can install Kimai.
Navigate to a Web-Accessible Directory
Typically, Apache’s default web root is /var/www/html.
cd /var/www/html
(If you prefer a different directory, adjust commands accordingly.)
Download Kimai
You can clone from GitHub or download a release package. The official stable releases are recommended for production. Here’s a method using Git:
sudo apt install git -y
git clone -b 2.30.0 --depth 1 https://github.com/kimai/kimai.git
This will create a kimai folder inside /var/www/html.
Install Kimai’s Dependencies
cd kimai
sudo composer install --no-dev --optimize-autoloader
- --no-dev: Installs only the dependencies needed for production (excluding development/test packages).
- --optimize-autoloader: Improves performance by optimizing how PHP classes are loaded.
Set Proper Permissions
Kimai needs certain folders to be writable by the web server user (often www-data):
sudo chown -R www-data:www-data /var/www/html/kimai
sudo chmod -R 755 /var/www/html/kimai
- chown: Changes the owner of the files to the web server user.
- chmod: Adjusts file permissions so they are readable and executable.
7. Configure Kimai
Kimai needs to know how to connect to your database and how to handle encryption.
Create the Kimai Environment File
Copy the default configuration and then customize it:
cp .env.dist .env
nano .env
Look for the database configuration line (it might look like this):
DATABASE_URL=mysql://kimai_user:StrongPassword@127.0.0.1:3306/kimai_db
Update it with your actual database name, user, and password.
Generate Encryption Keys
Kimai uses Symfony’s console commands to manage setup tasks.
sudo -u www-data php bin/console kimai:install -n
- -n: Non-interactive mode (it won’t ask for confirmation).
This command also creates the necessary database tables based on your .env file settings.
Create an Admin User
If the above command didn’t prompt you to create a user, you can do it separately:
bin/console kimai:user:create admin admin@example.com ROLE_SUPER_ADMIN
- Replace username and admin@example.com with your choices.
- You’ll be asked to provide a password.
8. Configure Apache Virtual Host
Now we tell Apache how to serve Kimai from a domain or a subdomain.
Create a Virtual Host File
sudo nano /etc/apache2/sites-available/kimai.conf
Insert the following (adjust the ServerName and paths to your environment):
<VirtualHost *:80>
    ServerName kimai.example.com
    DocumentRoot /var/www/html/kimai/public

    <Directory /var/www/html/kimai/public>
        AllowOverride All
        Require all granted
    </Directory>

    ErrorLog ${APACHE_LOG_DIR}/kimai_error.log
    CustomLog ${APACHE_LOG_DIR}/kimai_access.log combined
</VirtualHost>
DocumentRoot /var/www/html/kimai/public points to the public folder where Kimai’s main index.php resides.
The AllowOverride All directive enables .htaccess usage, which Kimai relies on for routing.
Enable the New Virtual Host and Rewrite Module
sudo a2ensite kimai.conf
sudo a2enmod rewrite
sudo systemctl restart apache2
- a2ensite kimai.conf: Tells Apache to use this new site configuration.
- a2enmod rewrite: Ensures URL rewriting is enabled (necessary for clean URLs).
9. Configure firewall
We need to allow HTTP and HTTPS ports in firewall.
ufw allow 80/tcp
ufw allow 443/tcp
10. Install SSL certification
To access application using HTTPS, we need to install SSL certification. We are using Let's Encrypt Certbot to install the SSL certification.
sudo apt install certbot python3-certbot-apache
Now, let's obtain the certification using following command (replace kimai.example.com):
certbot --apache -d kimai.example.com
10. Logging into Kimai
Navigate to Kimai in a Web Browser
Go to https://kimai.example.com.
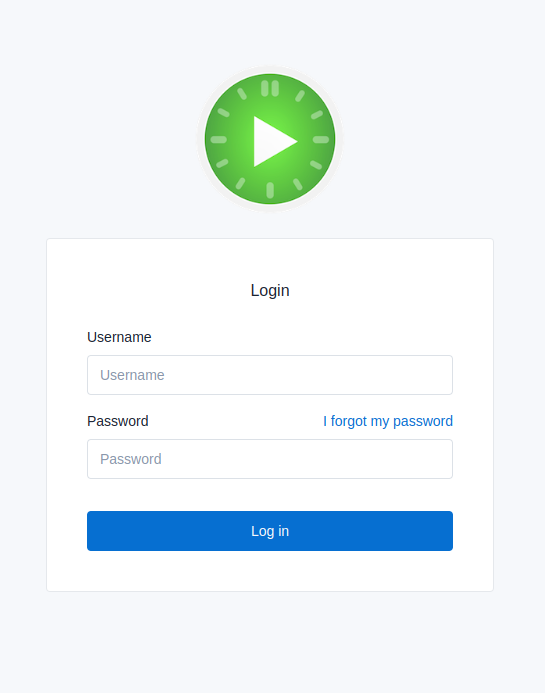
Enter Admin Credentials. Use the admin username and password you created earlier.
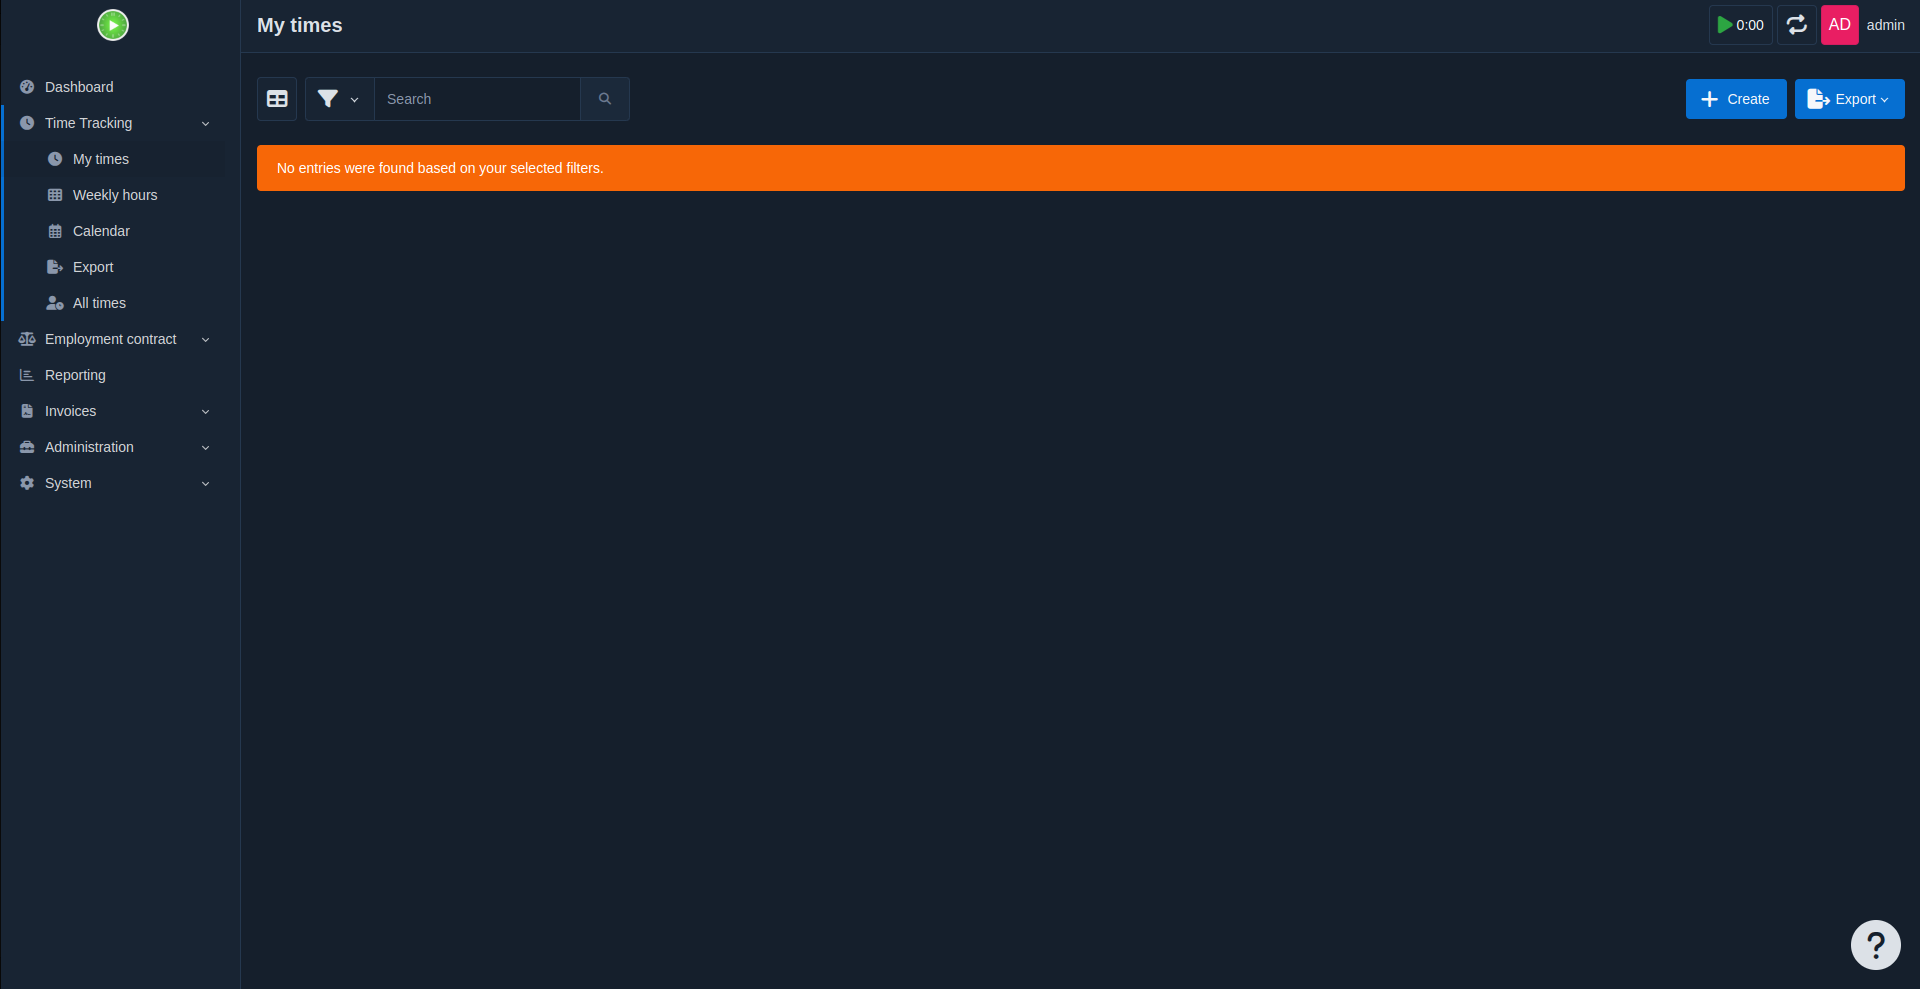
Explore the Dashboard. From here, you can create projects, start time recordings, and add additional users if needed.
11. Common Post-Installation Steps
Configure Email: Kimai can send invoices and notifications by email. To configure it, edit your .env file to include your mail server details (SMTP credentials).
Set up Backups: Regularly back up your database and the Kimai directory. This ensures no data loss if something happens to your server.
Update Kimai: Occasionally check for new releases. Updating is usually as simple as pulling the latest code and running composer install --no-dev --optimize-autoloader. Always back up before updating.
Final Thoughts
We have seen how to install Kimai on a Ubuntu 24.04. By following the steps above, you prepared your server, set up Apache, PHP, and MariaDB, installed Kimai with Composer, and configured your environment so it’s ready for production use. Kimai gives freelancers, teams, and companies a straightforward way to track work hours, generate reports, and bill clients—all while you retain full control over your data on your own server.
Enjoy using Kimai for efficient time-tracking and project management!
