How To Install Rocket.Chat on Ubuntu

In this tutorial, we'll learn how to install Rocket.Chat on Ubuntu 24.04 server.
Rocket.Chat is a dynamic, open-source team messaging platform designed for modern collaboration. It offers real-time chat, file sharing, and integrated video conferencing, all while giving organizations complete control over their data through self-hosting. Ideal for businesses that prioritize privacy and customization, Rocket.Chat serves as a robust alternative to proprietary messaging apps, empowering teams with secure, scalable communication solutions.
Below is a comprehensive, step-by-step guide that explains every aspect of setting up Rocket.Chat on an Ubuntu 24.04 server. This guide covers installing all necessary software, configuring Rocket.Chat to run as a systemd service, setting up Nginx as a reverse proxy, and securing your installation with SSL via Let’s Encrypt.
Prerequisites:
- A Ubuntu 24.04 installed dedicated server or KVM VPS.
- A root user or normal user with administrative privileges.
- A domain name point A record to server's IP
How To Install Rocket.Chat on Ubuntu
Step 1. Update Your System and Prepare for Installation
Before installing anything, it’s essential to update your system’s package lists and upgrade any outdated packages. This ensures you have the latest security patches and bug fixes.
sudo apt update && sudo apt upgrade -y
What’s happening?
- sudo apt update fetches the latest package lists.
- sudo apt upgrade -y upgrades installed packages without asking for confirmation.
This step lays a stable foundation for all subsequent installations.
Step 2. Install and Configure MongoDB
To import the MongoDB public GPG key, run the following command:
curl -fsSL https://www.mongodb.org/static/pgp/server-8.0.asc | \
   sudo gpg -o /usr/share/keyrings/mongodb-server-8.0.gpg \
   --dearmor
Create the list file for Ubuntu 24.04 (Noble):
echo "deb [ arch=amd64,arm64 signed-by=/usr/share/keyrings/mongodb-server-8.0.gpg ] https://repo.mongodb.org/apt/ubuntu noble/mongodb-org/8.0 multiverse" | sudo tee /etc/apt/sources.list.d/mongodb-org-8.0.list
Execute following command to reload the local package database:
sudo apt-get update
To install the latest stable version, execute following command:
sudo apt-get install -y mongodb-org
Configure Replica Set:
Edit the MongoDB configuration file to enable replication. Open /etc/mongod.conf with your favorite editor:
sudo nano /etc/mongod.conf
Find (or add) the replication section and set the replica set name (for example, rs0):
replication:
  replSetName: rs0
Save the file and exit the editor.
Restart MongoDB:
Restart the service so that the new settings take effect:
sudo systemctl restart mongod.service
Initiate the Replica Set:
Connect to MongoDB’s shell and initialize the replica set:
mongosh
In the Mongo shell, run:
rs.initiate()
Then type exit to leave the shell.
Why a Replica Set?
Even if you’re running MongoDB on a single server, Rocket.Chat expects a replica set for certain operations (such as handling failover scenarios). This configuration helps ensure reliability and allows you to scale later if needed.
Step 3. Install Node.js
Rocket.Chat is built on Node.js. While different versions may be recommended over time, at the time of writing, a stable version (for example, Node.js 22.x) is typically used.
Add the NodeSource Repository:
This command adds the Node.js repository to your system.
curl -fsSL https://deb.nodesource.com/setup_22.x | sudo -E bash -
Install Node.js:
sudo apt install -y nodejs
Verify the Installation:
Check that Node.js is installed properly.
node -v
Note: Always consult Rocket.Chat’s documentation to confirm the recommended Node.js version, as it can change with new releases.
Step 4. Download and Set Up Rocket.Chat
Download Rocket.Chat:
Get the latest Rocket.Chat bundle. We’ll use curl to download a compressed archive from the official release endpoint.
cd /tmp
curl -L https://releases.rocket.chat/latest/download -o rocket.chat.tgz
Extract the Archive:
tar -xzf rocket.chat.tgz
You should now have a directory named bundle.
Move Rocket.Chat to a Permanent Location:
It’s a good idea to place the application in a directory like /opt.
sudo mv bundle /opt/Rocket.Chat
Install Rocket.Chat Server Dependencies:
Navigate to the programs/server directory and install the required Node.js packages.
cd /opt/Rocket.Chat/programs/server
npm install
What’s happening here?
- The downloaded bundle contains the compiled Rocket.Chat server code.
- Running npm install downloads all dependencies that Rocket.Chat requires to run.
Step 5. Configure Rocket.Chat as a Systemd Service
Running Rocket.Chat as a systemd service ensures that it starts automatically on boot and restarts in case of failure.
Create a Dedicated User:
For security reasons, it’s best to run Rocket.Chat under its own user account.
sudo useradd -M -s /bin/false rocketchat
sudo chown -R rocketchat:rocketchat /opt/Rocket.Chat
Explanation:
- The
-Moption prevents creation of a home directory. - The
-s /bin/falseoption disables shell access for this user.
Create the Service File:
Open a new service file with your text editor:
sudo nano /etc/systemd/system/rocketchat.service
Paste the following content:
[Unit]
Description=Rocket.Chat Server
After=network.target remote-fs.target nss-lookup.target

[Service]
ExecStart=/usr/bin/node /opt/Rocket.Chat/main.js
Restart=always
StandardOutput=syslog
StandardError=syslog
SyslogIdentifier=rocketchat
User=rocketchat
Group=rocketchat
Environment=MONGO_URL=mongodb://localhost:27017/rocketchat?replicaSet=rs0
Environment=ROOT_URL=https://chat.yourdomain.com
Environment=PORT=3000

[Install]
WantedBy=multi-user.target
Key points:
- ExecStart specifies the command to start Rocket.Chat.
- The Environment lines set important variables:
- MONGO_URL points to your MongoDB instance (note the replica set parameter).
- ROOT_URL should be the domain where Rocket.Chat will be accessible—this will be updated once SSL is configured.
- PORT defines which port Rocket.Chat will listen on (default is 3000).
Enable and Start the Service:
sudo systemctl daemon-reload
sudo systemctl enable rocketchat
sudo systemctl start rocketchat
Explanation:
- daemon-reload makes systemd aware of the new service.
- enable ensures Rocket.Chat starts at boot.
- start launches the service immediately.
Check Service Status:
Verify that Rocket.Chat is running:
sudo systemctl status rocketchat
Step 6. Configure Firewall
If UFW (Uncomplicated Firewall) is active, ensure HTTP and HTTPS traffic is allowed:
sudo ufw allow 'Nginx Full'
Step 7. Set Up Nginx as a Reverse Proxy
Using Nginx in front of Rocket.Chat offers several advantages: it handles incoming web traffic, provides load balancing if needed, and enables SSL termination.
Install Nginx:
sudo apt install -y nginx
Create an Nginx Configuration File:
Create a new file for Rocket.Chat. Replace chat.yourdomain.com with your actual domain name.
sudo nano /etc/nginx/sites-available/rocketchat
Paste the following configuration:
server {
    listen 80;
    server_name chat.yourdomain.com;

    location / {
        proxy_pass http://localhost:3000/;
        proxy_http_version 1.1;
        proxy_set_header Upgrade $http_upgrade;
        proxy_set_header Connection "upgrade";
        proxy_set_header Host $host;
        proxy_set_header X-Real-IP $remote_addr;
        proxy_set_header X-Forwarded-For $proxy_add_x_forwarded_for;
        proxy_set_header X-Forwarded-Proto http;
        proxy_set_header X-Nginx-Proxy true;
        proxy_redirect off;
    }
}
Explanation of Key Directives:
- listen 80; tells Nginx to listen on HTTP port 80.
- server_name specifies which domain names this configuration applies to.
- proxy_pass forwards incoming traffic to Rocket.Chat running on localhost:3000.
- The proxy_set_header directives ensure that WebSocket connections (used by Rocket.Chat) and client information are properly forwarded.
Enable the Nginx Site:
Create a symbolic link to activate the configuration.
sudo ln -s /etc/nginx/sites-available/rocketchat /etc/nginx/sites-enabled/rocketchat
Test and Reload Nginx:
Always test the configuration before reloading:
sudo nginx -t
sudo systemctl reload nginx
At this point, if you visit http://chat.yourdomain.com in your browser, you should see Rocket.Chat running. However, this is over HTTP, and we need to secure the connection.
Step 8. Secure Your Rocket.Chat Instance with SSL
Using SSL not only encrypts traffic but also builds trust with your users. Let’s Encrypt offers free SSL certificates that can be automatically renewed.
Install Certbot and the Nginx Plugin:
sudo apt install -y certbot python3-certbot-nginx
Run Certbot to Obtain and Install a Certificate:
Replace chat.yourdomain.com with your actual domain.
sudo certbot --nginx -d chat.yourdomain.com
What to expect:
- Certbot will automatically detect your Nginx configuration.
- It will ask for an email address (for renewal notices) and require you to agree to the terms of service.
- Finally, it will ask if you want to redirect HTTP traffic to HTTPS. It’s best to choose the redirect option so that all traffic is secure.
Automatic Renewal:
Let’s Encrypt certificates are valid for 90 days, but Certbot installs a cron job or systemd timer to handle renewal automatically. You can test the renewal process with:
sudo certbot renew --dry-run
Why SSL?
SSL encrypts data in transit between your users and the server, which is critical for protecting sensitive conversations and ensuring privacy.
Step 9. Final Testing and Troubleshooting
Access the Web Interface:
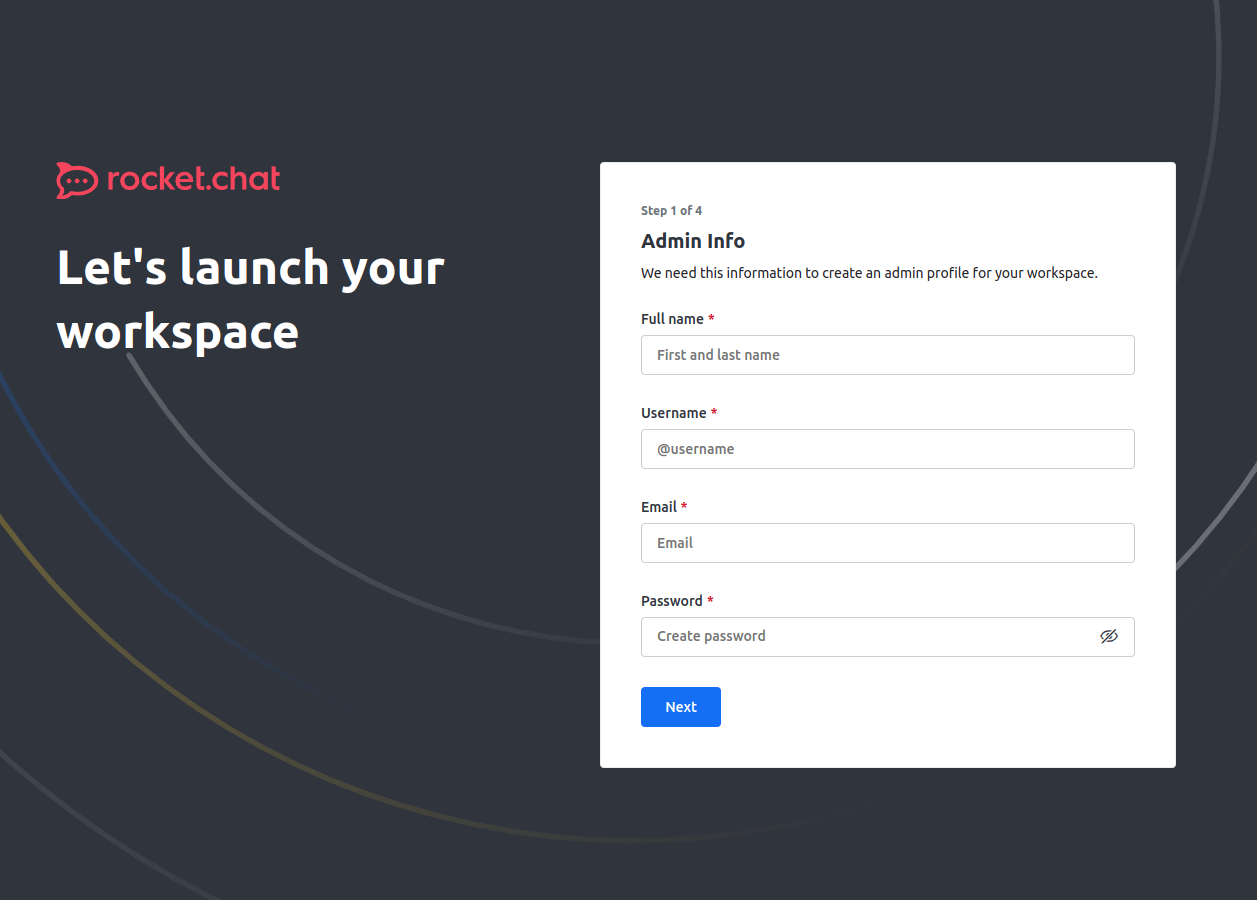
Open your browser and navigate to https://chat.yourdomain.com. You should see the Rocket.Chat setup screen.
Check Logs:
If anything isn’t working as expected, review Rocket.Chat’s logs:
sudo journalctl -u rocketchat
And check Nginx’s error logs:
sudo tail -f /var/log/nginx/error.log
DNS Considerations:
Ensure your domain (chat.yourdomain.com) points to your server’s IP address. DNS propagation can sometimes take a few minutes to hours.
This detailed tutorial should equip you with a strong understanding of how to install and secure Rocket.Chat on an Ubuntu 24.04 server. By following these steps, you gain full control over your messaging solution, offering an open-source, privacy-focused alternative to services like Slack. Enjoy your new self-hosted chat server!
