Install Virtualmin on Ubuntu 24.04

In this tutorial, we'll explain how to install and configure Virtualmin on Ubuntu 24.04.
Virtualmin is a powerful web hosting control panel that enables system administrators to manage multiple virtual hosts on a single server. Built on top of Webmin, Virtualmin simplifies the management of web hosting environments, allowing users to easily create and manage websites, databases, email accounts, and various server settings through a user-friendly web interface.
Virtualmin allows administrators to host multiple domains on a single server effortlessly. Each domain can have its own set of users, databases, and configurations, making it ideal for shared hosting environments.
Virtualmin includes various security features such as SSL certificate management, firewall configuration, and support for Fail2ban, which helps protect against unauthorized access and attacks.
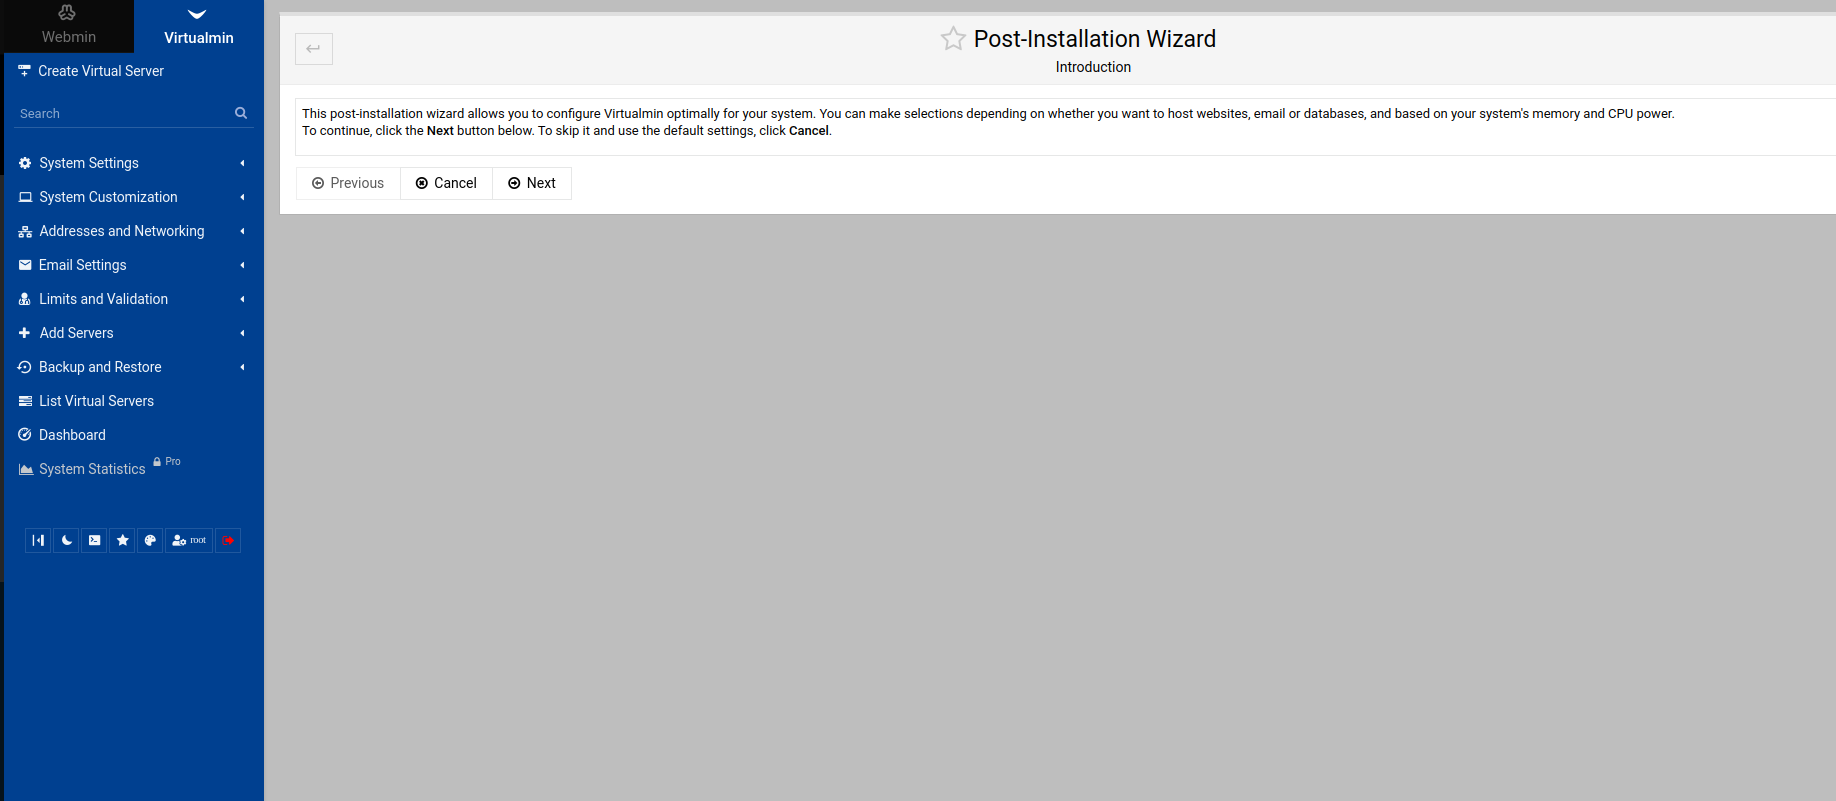
Here's a step-by-step tutorial on how to install Virtualmin on Ubuntu 24.04, along with instructions to secure it with SSL and access it without specifying a port in the browser.
Prerequisites
- A server running Ubuntu 24.04 dedicated server or KVM VPS.
- A root or non-root user with sudo privileges.
- A domain name pointing to your server’s IP address.
- Basic knowledge of the command line and Linux administration.
Install and Configure Virtualmin on Ubuntu 24.04
Step 1: Update Your System
Before starting the installation, ensure your system is up to date. Open a terminal and run:
sudo apt update && sudo apt upgrade -y
Step 3: Download and Run the Virtualmin Installation Script
The quickest way to initiate the installation of Virtualmin GPL on your server is to log in via SSH using a terminal, and execute the following pre-prepared command:
sudo sh -c "$(curl -fsSL https://software.virtualmin.com/gpl/scripts/virtualmin-install.sh)" -- --bundle LAMP
This script will automatically install Virtualmin along with all necessary components.
Step 4: Access Virtualmin
After the installation is complete, you can access Virtualmin via your web browser. Open your browser and navigate to:
https://your-server-ip:10000/
You can replace your-server-ip with your actual server IP address. Log in with your root credentials.
Step 5: Install SSL to Hostname
To install SSL for your hostname in Virtualmin, follow these detailed steps. This process will enable SSL encryption for your Virtualmin control panel, allowing you to securely access it via HTTPS. Here’s how to do it:
Log in to Virtualmin
https://your-server-ip:10000/
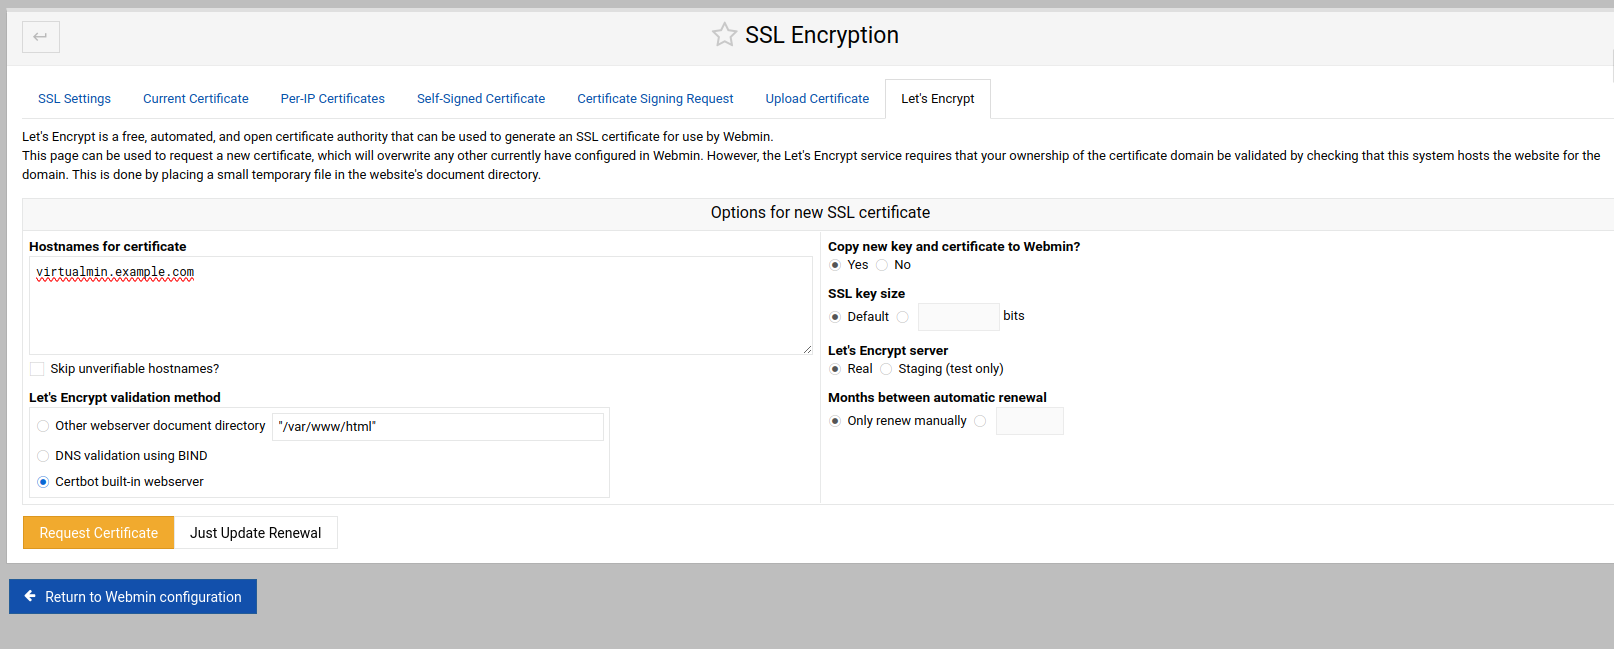
Navigate to the SSL Certificate Management Section
Once logged in, look for the "Webmin" menu on the left side.
Click on "Webmin" > "Webmin Configuration."
In the Webmin Configuration page, select "SSL Encryption."
Generate a New SSL Certificate Using Let's Encrypt:
In the SSL Encryption section, look for an option that says "Let's Encrypt." Click on it.
Fill your hostname in the Hostnames for certificate fields
In Let's Encrypt validation method
Choose Certbot built-in webserver
Before proceeding further, navigate to terminal and SSH to the Virtualmin server and stop httpd service using following command:
sudo systemctl stop apache2
We're doing this step because, we are using Certbot for validation method. Certbot required port 80 to access. By default port 80 is assigned to Apache web server, so we need to stop Apache web server and free the port 80.
Once we complete above step, click on "Request Certification" button to proceed further.
It will start requesting certiticate and make necessary changes.
Once it done, navigate to your terminal and start httpd service using following command:
sudo systemctl start apache2
That's it. Now navigate to web browser and access Virtualmin control panel
https://[hostname]:10000
Virtualmin will attempt to obtain and install the SSL certificate for your hostname automatically.
Conclusion
In this tutorial, you learned how to install and configure Virtualmin on Ubuntu 24.04 server and secure your hostname with an SSL certificate using Let's Encrypt. By following the step-by-step instructions, you not only set up a powerful web hosting control panel but also ensured secure access through HTTPS, enhancing the safety of your management interface.
