Installing WordPress on Ubuntu 24.04

Learn how to set up WordPress on an Ubuntu 24.04 server with MariaDB and Nginx, and secure your site with a free SSL certificate from Let's Encrypt.
This comprehensive guide covers updating your system, installing necessary software, configuring your database and web server, and securing your WordPress installation with HTTPS. Follow our step-by-step instructions to get your WordPress site up and running quickly and securely.
Prerequisites
- A fresh Ubuntu 24.04 dedicated server or KVM VPS instance.
- A user with sudo privileges.
- Basic knowledge of command-line operations.
Step 1: Update the System
Before starting the installation, it's essential to update your package lists to ensure you have the latest versions available.
sudo apt update
sudo apt upgrade -y
Step 2: Install Nginx
Nginx is a powerful web server that will serve your WordPress site.
sudo apt install nginx -y
Step 3: Install MariaDB
MariaDB is a popular database server. Install it using the following command:
sudo apt install mariadb-server mariadb-client -y
Secure the MariaDB installation:
sudo mysql_secure_installation
Follow the prompts to set the root password and secure your installation.
Create a Database for WordPress
Log in to the MariaDB shell:
sudo mysql -u root -p
Create a new database and user for WordPress. Replace wordpress_db, wordpress_user, and password with your preferred database name, username, and password:
CREATE DATABASE wordpress_db;
GRANT ALL PRIVILEGES ON wordpress_db.* TO 'wordpress_user'@'localhost' IDENTIFIED BY 'password';
FLUSH PRIVILEGES;
EXIT;
Step 4: Install PHP
WordPress is written in PHP, so you'll need to install PHP and some additional modules:
sudo apt install php-fpm php-mysql php-cli php-curl php-gd php-mbstring php-xml php-xmlrpc -y
Step 5: Download and Configure WordPress
Navigate to the web root directory and download the latest version of WordPress:
cd /var/www/html
sudo wget https://wordpress.org/latest.tar.gz
sudo tar -xzvf latest.tar.gz
sudo mv wordpress/* .
sudo rm -rf wordpress latest.tar.gz
Now, let's configure WordPress
Create a WordPress configuration file:
sudo cp wp-config-sample.php wp-config.php
Edit the wp-config.php file to add your database details:
sudo nano wp-config.php
Replace the database name, user, and password placeholders with the ones you created earlier:
define( 'DB_NAME', 'wordpress_db' );
define( 'DB_USER', 'wordpress_user' );
define( 'DB_PASSWORD', 'password' );
define( 'DB_HOST', 'localhost' );
Next, set proper Permissions to the directory.
Set the correct permissions so Nginx can serve your WordPress site:
sudo chown -R www-data:www-data /var/www/html
sudo chmod -R 755 /var/www/html
Step 6: Configure Nginx
Create a new configuration file for your WordPress site:
sudo nano /etc/nginx/sites-available/wordpress
Add the following configuration:
server {
    listen 80;
    server_name your_domain_or_IP;

    root /var/www/html;
    index index.php index.html index.htm;

    location / {
        try_files $uri $uri/ /index.php?$args;
    }

    location ~ \.php$ {
        include snippets/fastcgi-php.conf;
        fastcgi_pass unix:/var/run/php/php8.3-fpm.sock;
        fastcgi_param SCRIPT_FILENAME $document_root$fastcgi_script_name;
        include fastcgi_params;
    }

    location ~ /\.ht {
        deny all;
    }
}
Note: Check the php8.3-fpm.sock. If you are using different PHP version, you need to update this.
Enable the configuration by creating a symbolic link:
sudo ln -s /etc/nginx/sites-available/wordpress /etc/nginx/sites-enabled/
Test the Nginx configuration for syntax errors:
sudo nginx -t
Restart Nginx to apply the changes:
sudo systemctl restart nginx
Step 7: Configure Firewall
We need to add HTTP and HTTPS ports in the firewall.
ufw allow 80/tcp
ufw allow 443/tcp
ufw reload
Step 8: Secure with SSL Certificate
Certbot is a tool that automates the process of obtaining and renewing SSL certificates from Let's Encrypt.
sudo apt install certbot python3-certbot-nginx -y
Obtain an SSL Certificate
Run the following command to obtain and install an SSL certificate for your domain. Replace your_domain_or_IP with your actual domain or IP address.
sudo certbot --nginx -d your_domain_or_IP
You'll be prompted to enter your email address and agree to the terms of service. Certbot will automatically configure Nginx to use the SSL certificate.
Step 10: Complete the WordPress Installation
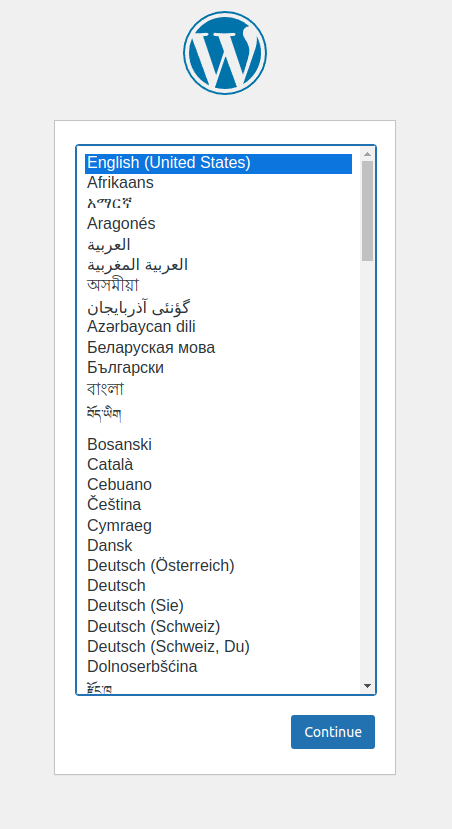
Open your web browser and navigate to your server's domain name or IP address. You should see the WordPress installation page. Follow the on-screen instructions to complete the installation.
Conclusion
You have successfully installed WordPress on your Ubuntu 24.04 server with MariaDB and Nginx. You can now start customizing your WordPress site and adding content.
